It’s no secret that I am a total nerd. Working as a research biologist goes hand-in-hand with my love of very technical baking. Lately, there has been a huge geek-fest going on because of the upcoming eclipse. This is the first total solar eclipse in the continental US since 1970.
People are losing their minds about the max 2 minutes and 40.2 seconds of totality that is going to pop up on Monday. It’s kinda weird for me to see people getting so excited about something nerdy like this. It’s a pretty nice change of pace from the… climate of things though. Something fun to look forward to.
Find lots of nerdy eclipse facts here!
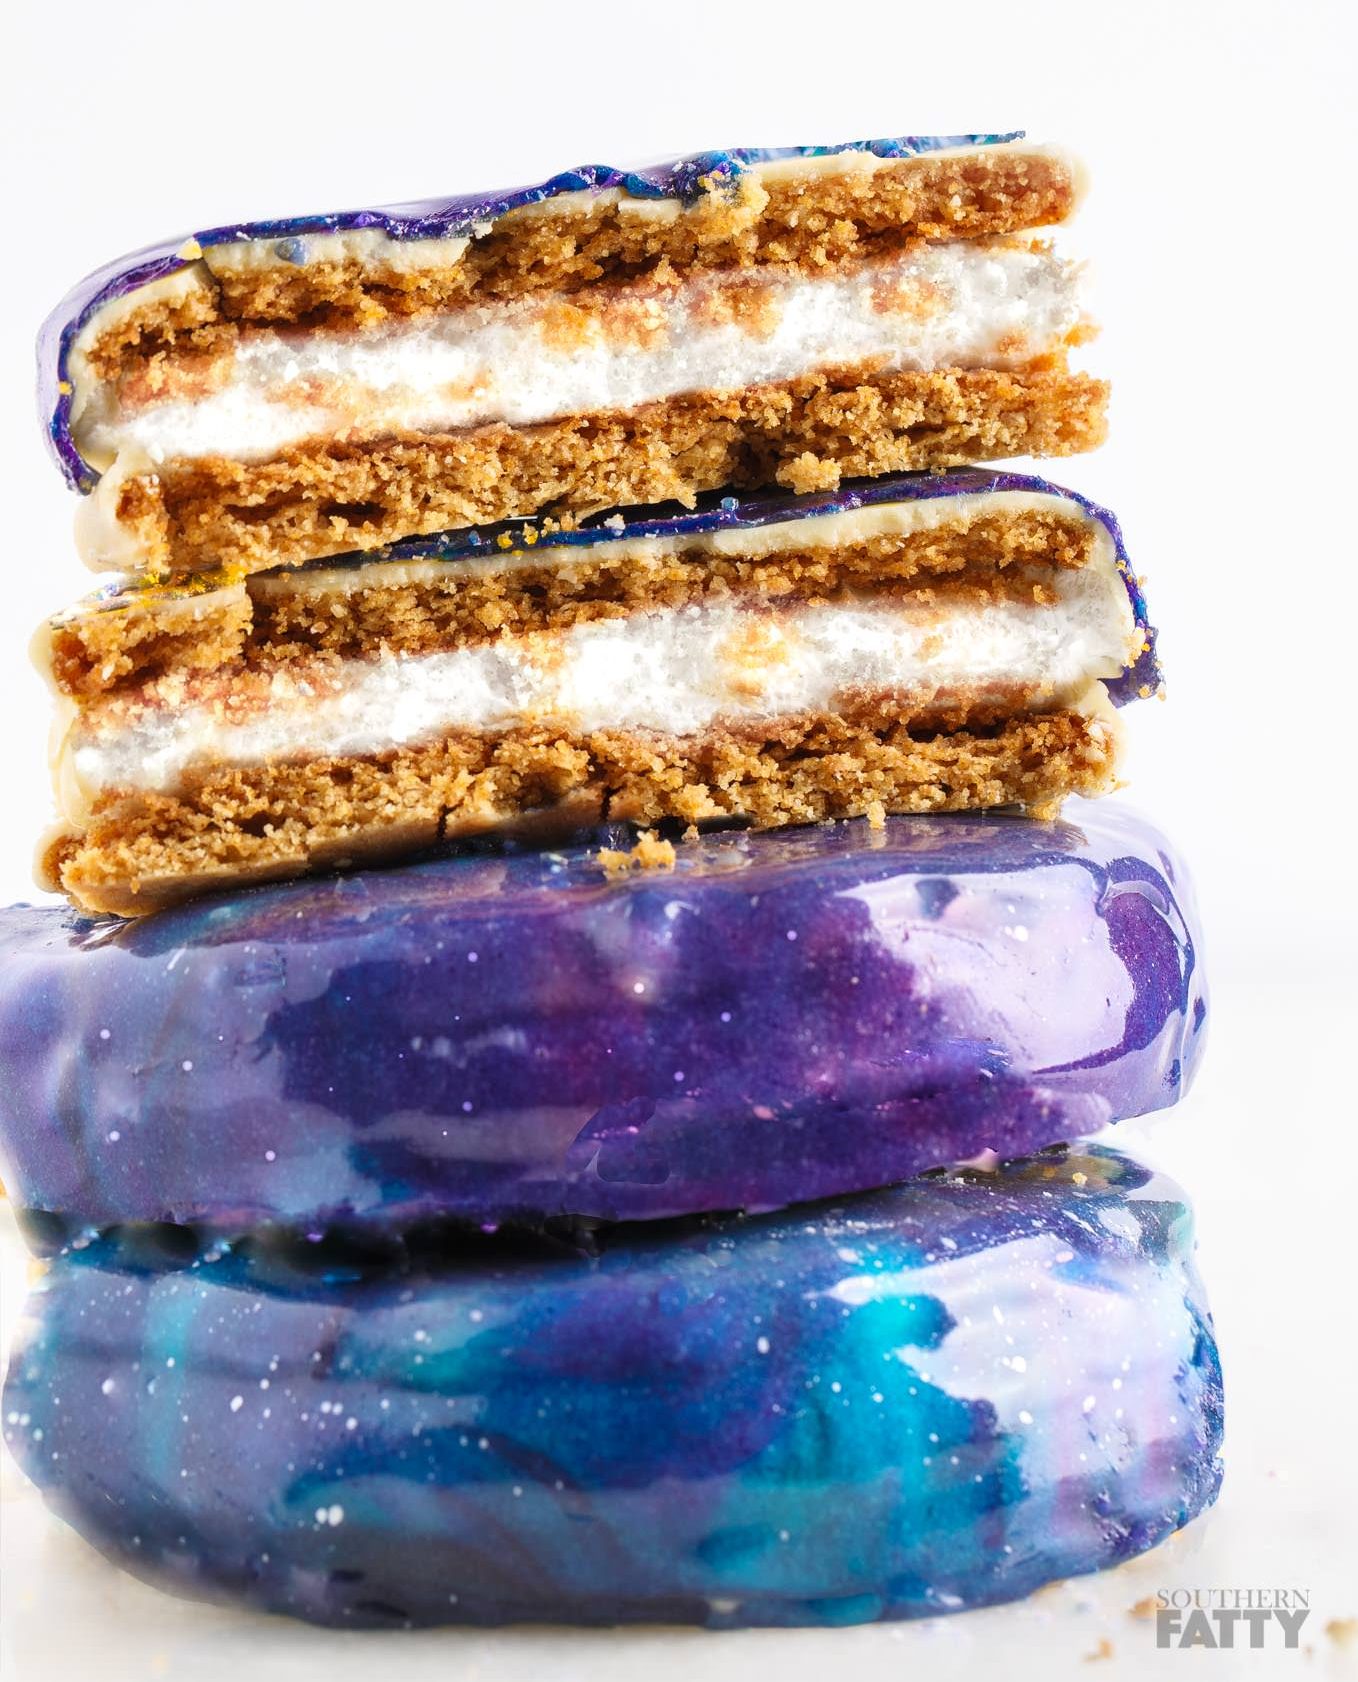
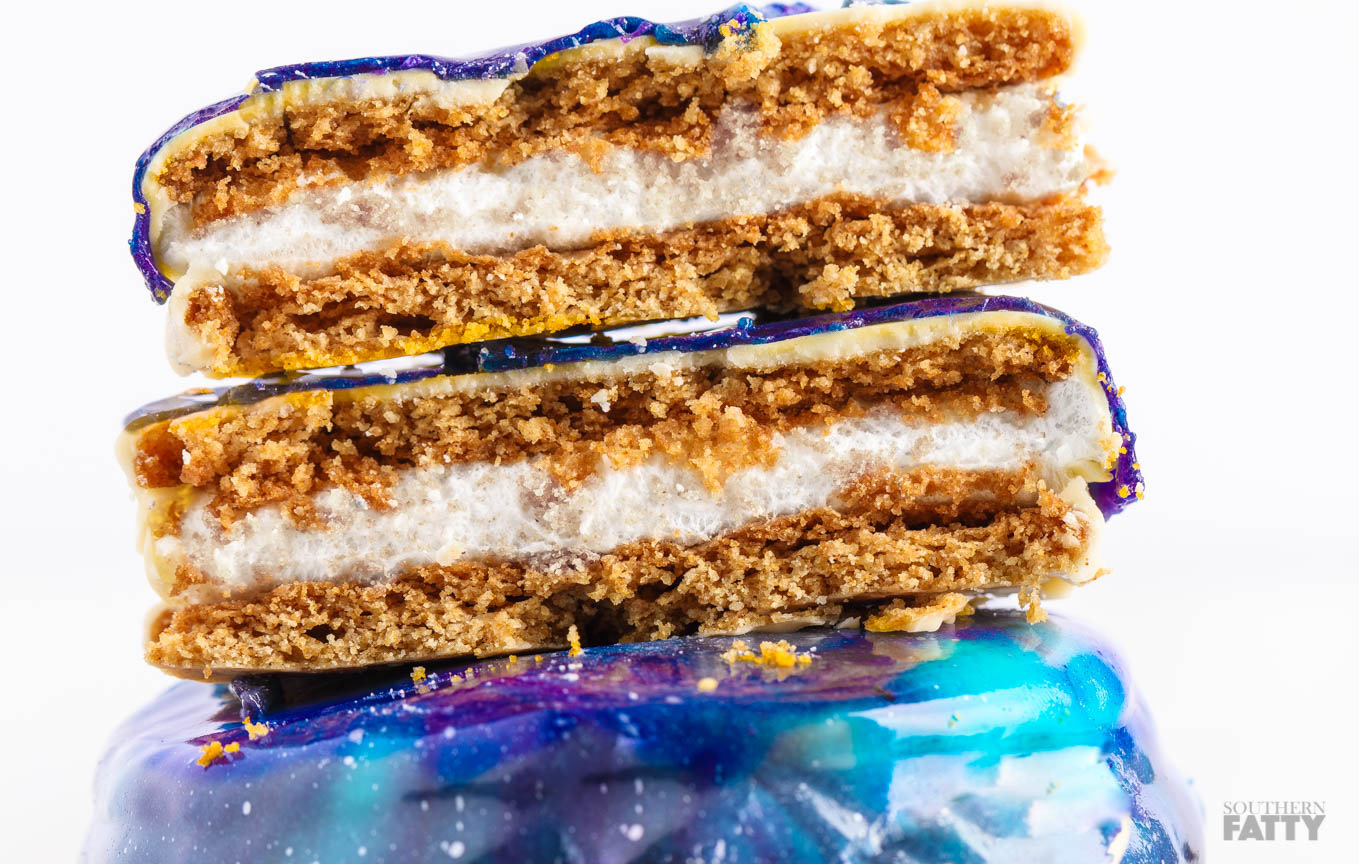
If there is one iconic dessert treat that fits this event perfectly, it has to be the MoonPie. They happen to make these things just down the road in Chattanooga, TN. Since we have to be a little extra around here, I decided to combine my most popular blog post ever, How to Make a Mirror Glaze Cake, with the famous handheld sweet to celebrate the festivities. Cheers to my parents for texting me the idea for this one!
I won’t go through all of the details about making the mirror glaze here. You can jump to that post to read up on that. It looks all kinda of fancy pants, but it’s pretty simple. Melt some stuff and dump it on chocolate and pour it.
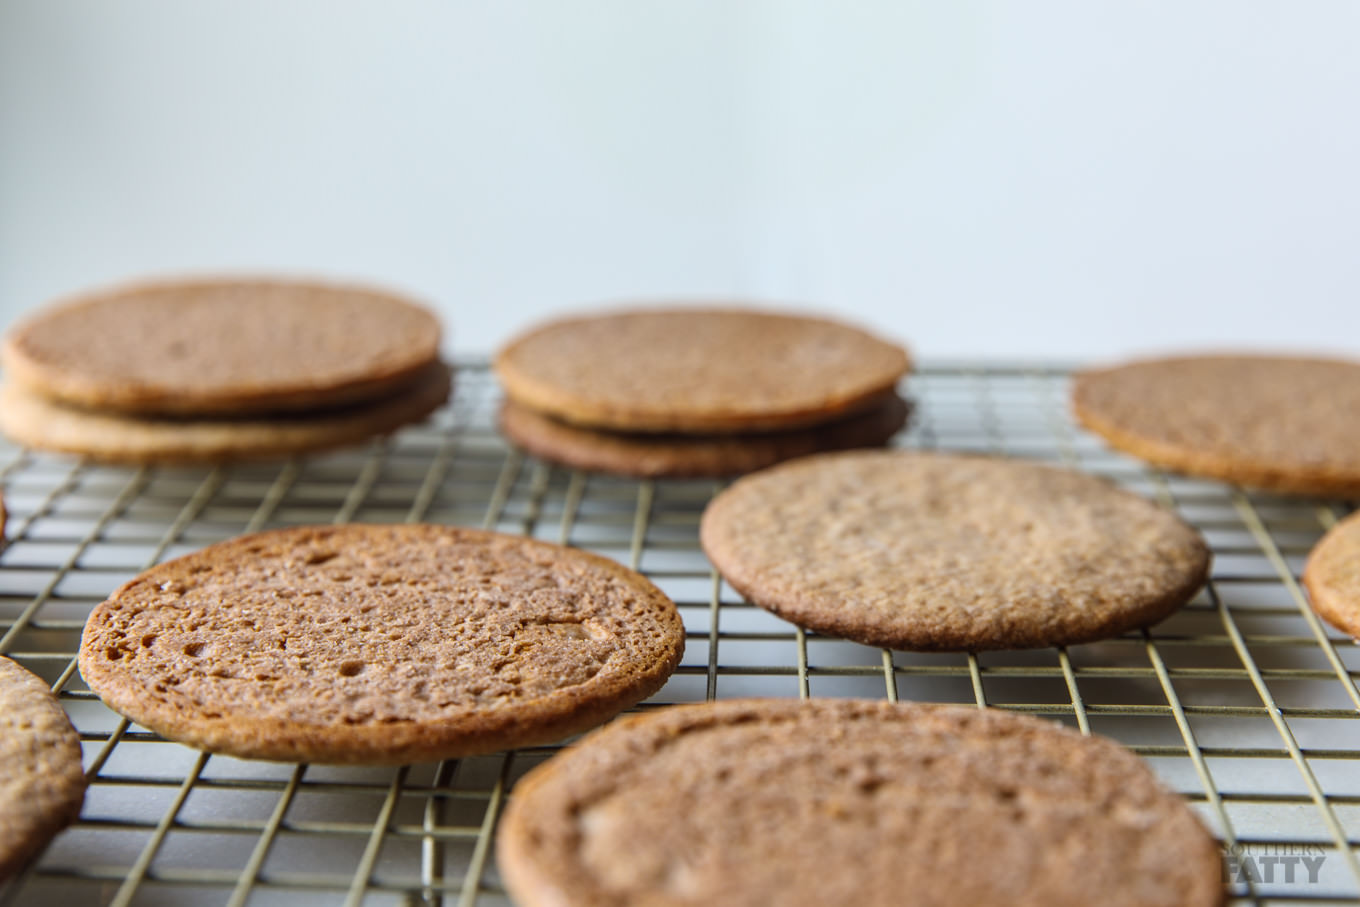
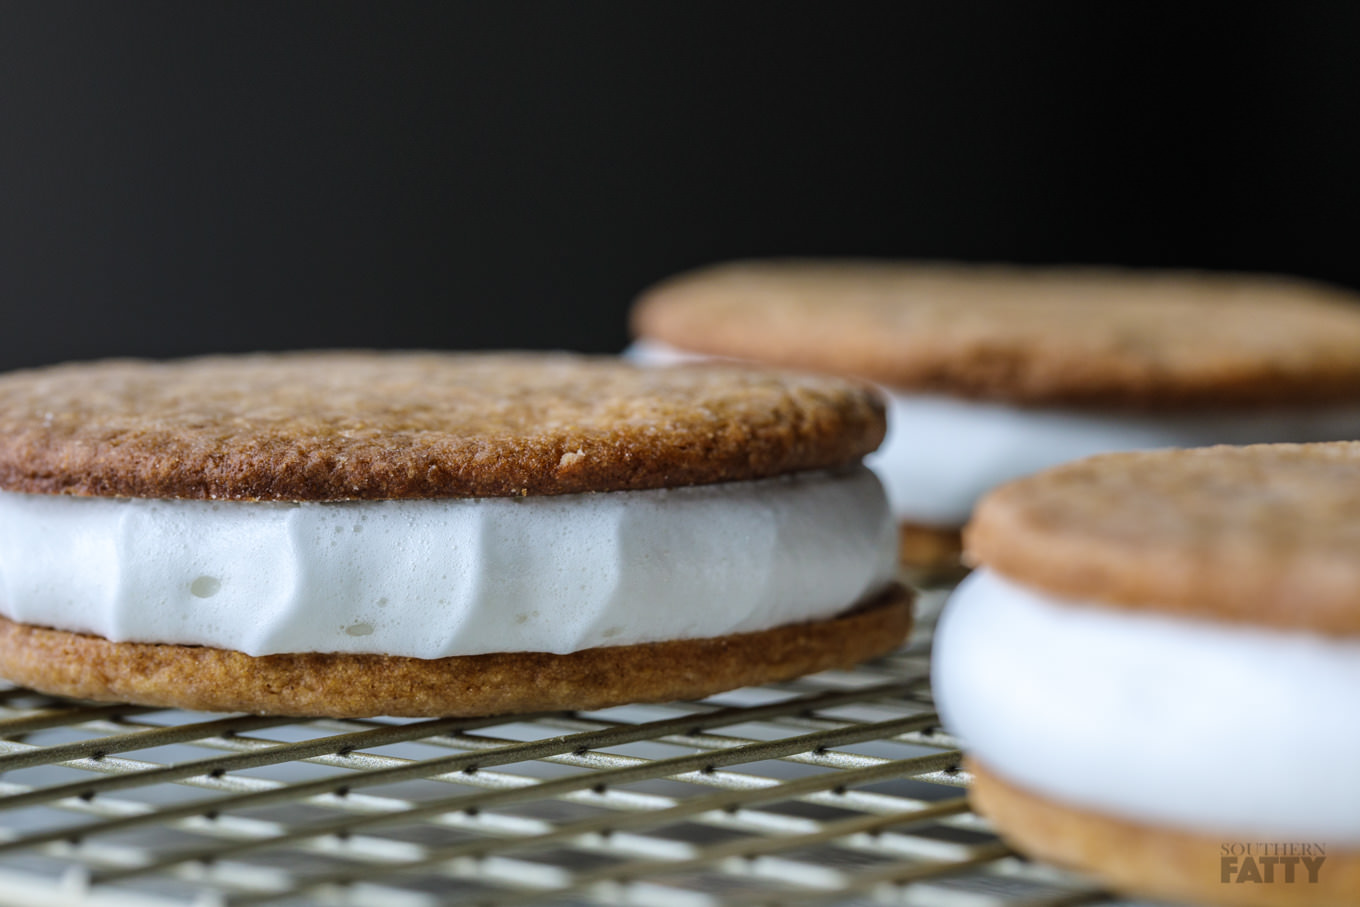
To me, the cookie part of the pies are the most critical to recreate properly in a home kitchen. If you don’t end up with that slightly dry, crumbly, graham base, you might as well lock yourself in a basement and skip the eclipse and making Moon Pies all together. I’ve adapted a recipe by Chef David Guas for this recipe, and it worked beautifully. It may be my favorite recreation recipe ever. Might tie with my Christmas Tree Cakes, though.
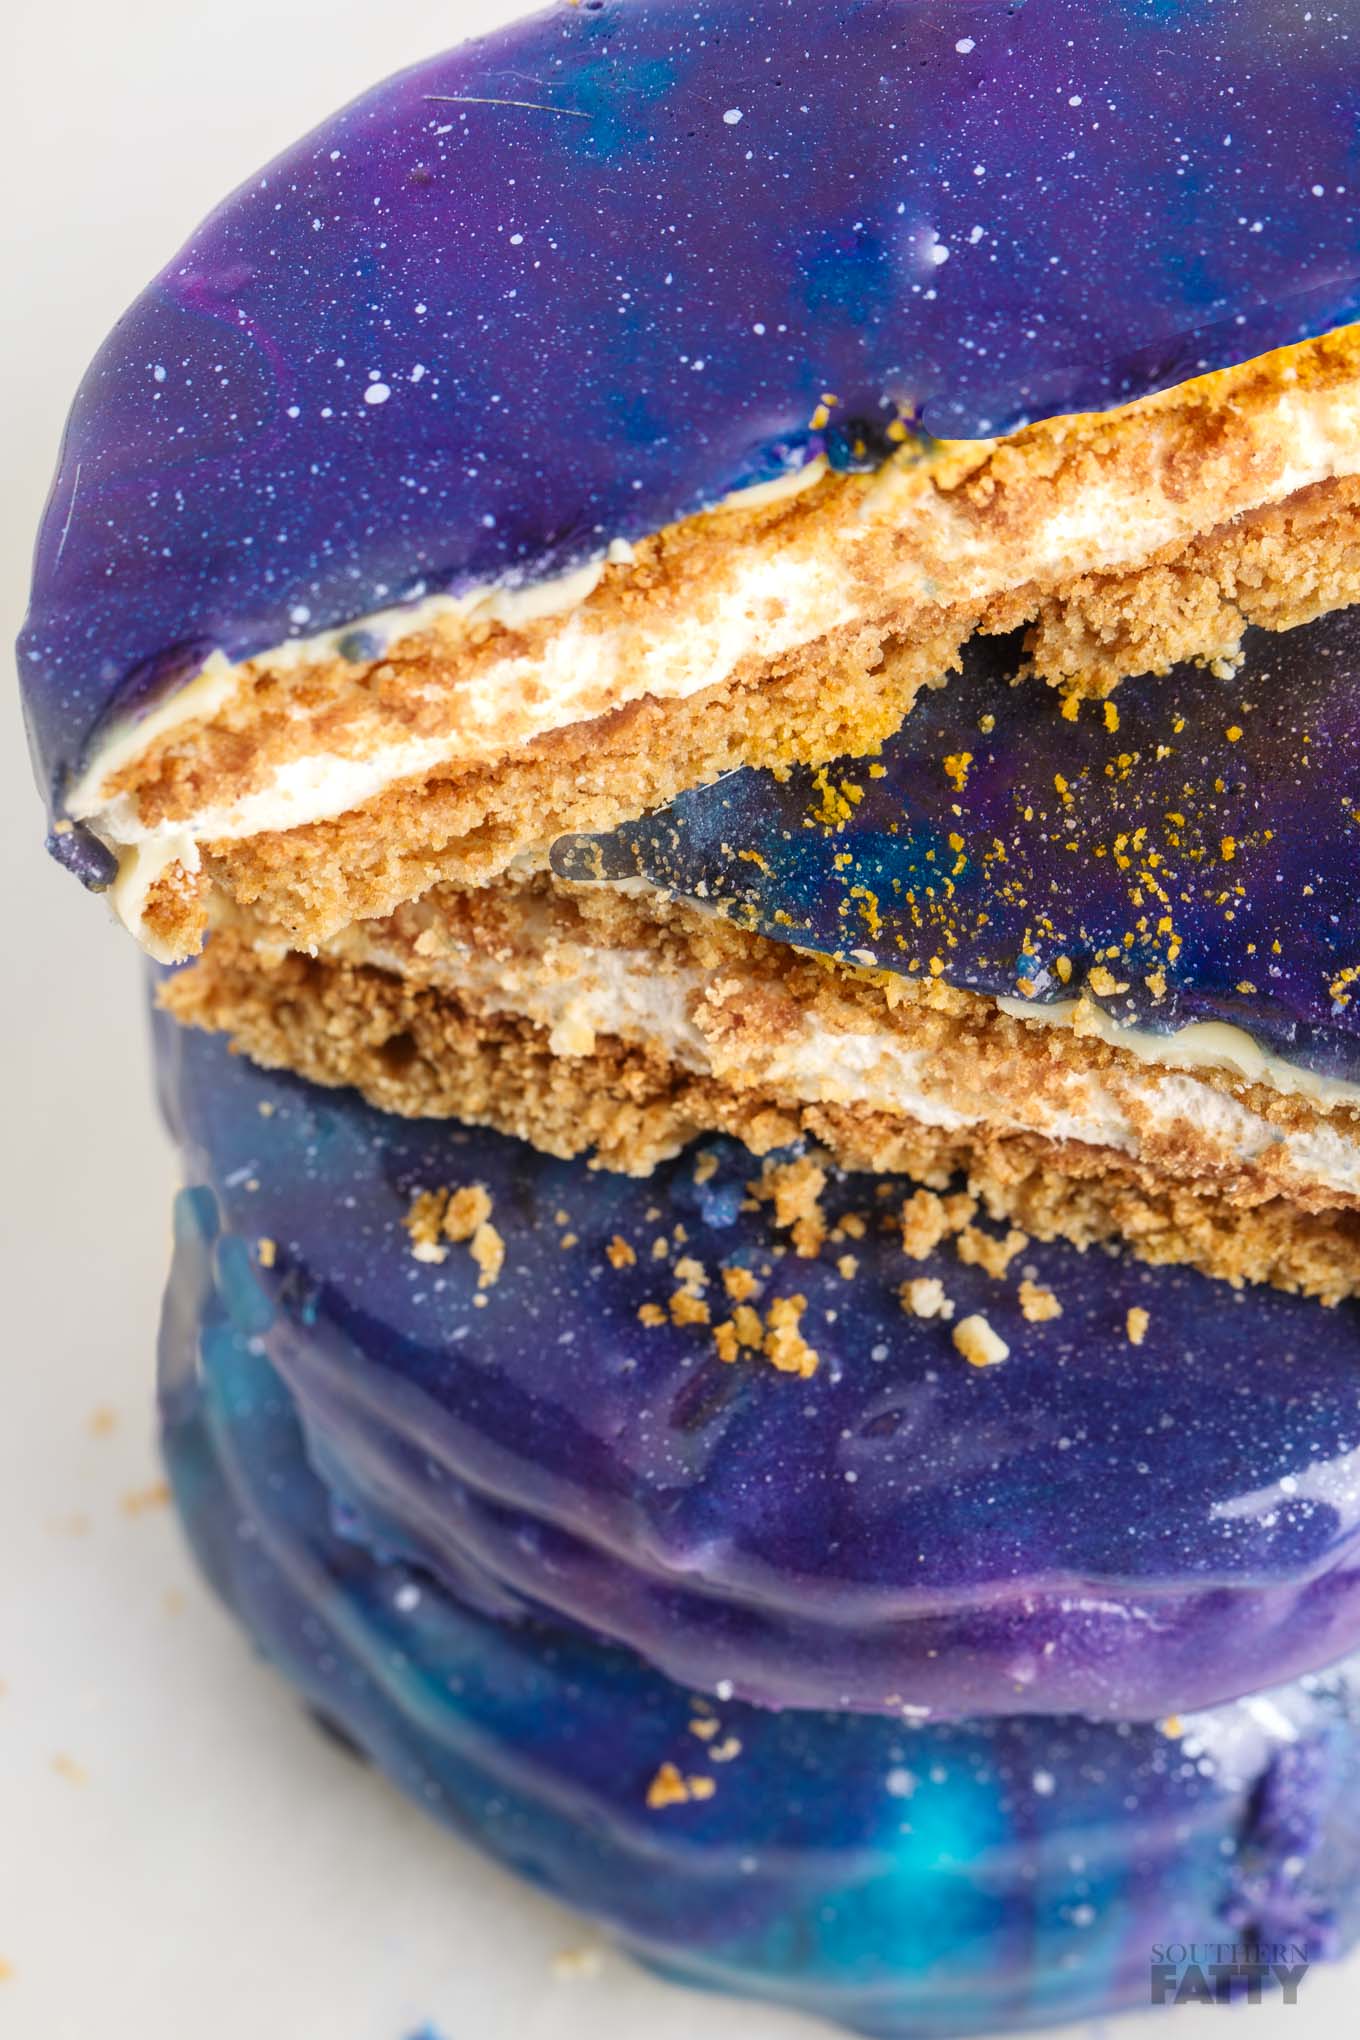
The moon, sun, earth, and chocolate all aligned perfectly for this one. If you serve these at your eclipse party, be sure to remind your friends to glance up from the table in time to see the real thing. They’re going to be distracted.
- 6 oz. unsalted butter, softened
- ¼ cup golden syrup (can use corn syrup, but I recommend golden if possible)
- 3 tablespoons light brown sugar, packed
- 1 tablespoon dark brown sugar, packed
- ½ teaspoon vanilla bean paste
- 1⅔ cups flour, all-purpose
- 9 crackers, or 1 package, slightly more than 1 cup, graham crackers, finely processed in food processor
- ¾ teaspoon salt
- ½ teaspoon baking powder
- ½ teaspoon baking soda
- ½ teaspoon ground cinnamon
- 2 tablespoon half and half, or whole milk
- 2 teaspoons gelatin, powdered (or 2.5 leaf sheets)
- ¼ cup water plus ¼ cup water, divided
- 2 tablespoons light corn syrup
- 1 tablespoons honey
- ½ cup granulated sugar
- 2 egg whites
- 1 teaspoon vanilla extract, preferably clear
- 24 oz almond bark candy coating
- ½ cup shortening
- Find the recipe and instructions HERE.
- silver sheen food coloring, to decorate
- Cream butter, syrup, sugars, and vanilla together until light and creamy, about 2-3 minutes.
- Sift remaining dry ingredients into a bowl.
- Add dry to the creamed butter in 2-3 batches, mixing between each addition.
- Add milk and mix completely.
- The dough will be quite soft. This is expected.
- Transfer dough to plastic wrap, wrapping into a disc completely.
- Chill in refrigerator for at least an hour, if not overnight.
- After chilling, pre-heat oven to 325F / 160C.
- Prepare baking sheet with silicone baking mat or parchment.
- Roll out dough on lightly floured cool surface to about ¼ of an inch thickness.
- Punch out 3 inch rounds (I used THIS punch set). You should get about 12-14 cookies.
- Brush off excess flour with pastry brush, transfer rounds carefully to the prepared baking sheet.
- Bake for 10-12 minutes. They will be soft when finished, very lightly golden on the bottoms and sides. Allow to cool on pan before moving, as they break and tear easily until set.
- Set aside until assembly.
- Start by mixing gelatin with ¼ cup cool water in small bowl.
- Place egg whites into a very clean bowl of a stand mixer. Do not turn it on yet.
- In a small saucepan, stir to combine ¼ cup water with corn syrup, honey, and sugar over medium heat.
- Using a candy thermometer (I love THIS one), cook until the syrup reached about 200 degrees F/ 93 C.
- Turn on mixer to medium-high setting for egg whites while continuing to cook sugar syrup.
- Once the syrup reaches 240F/115C, CAREFULLY remove pan from heat and take to stand mixer. Add gelatin and whisk until smooth.
- Keep mixing on medium speed.
- Add vanilla to egg whites.
- Very slowly pour mixture into stiffened egg whites. Pour at the edge of the egg whites, not on the beaters, and not down the side of the bowl. This may take some practice.
- Increase speed to high and mix for 6-7 minutes. The mixture will be warm, but cooled and at least doubled in volume.
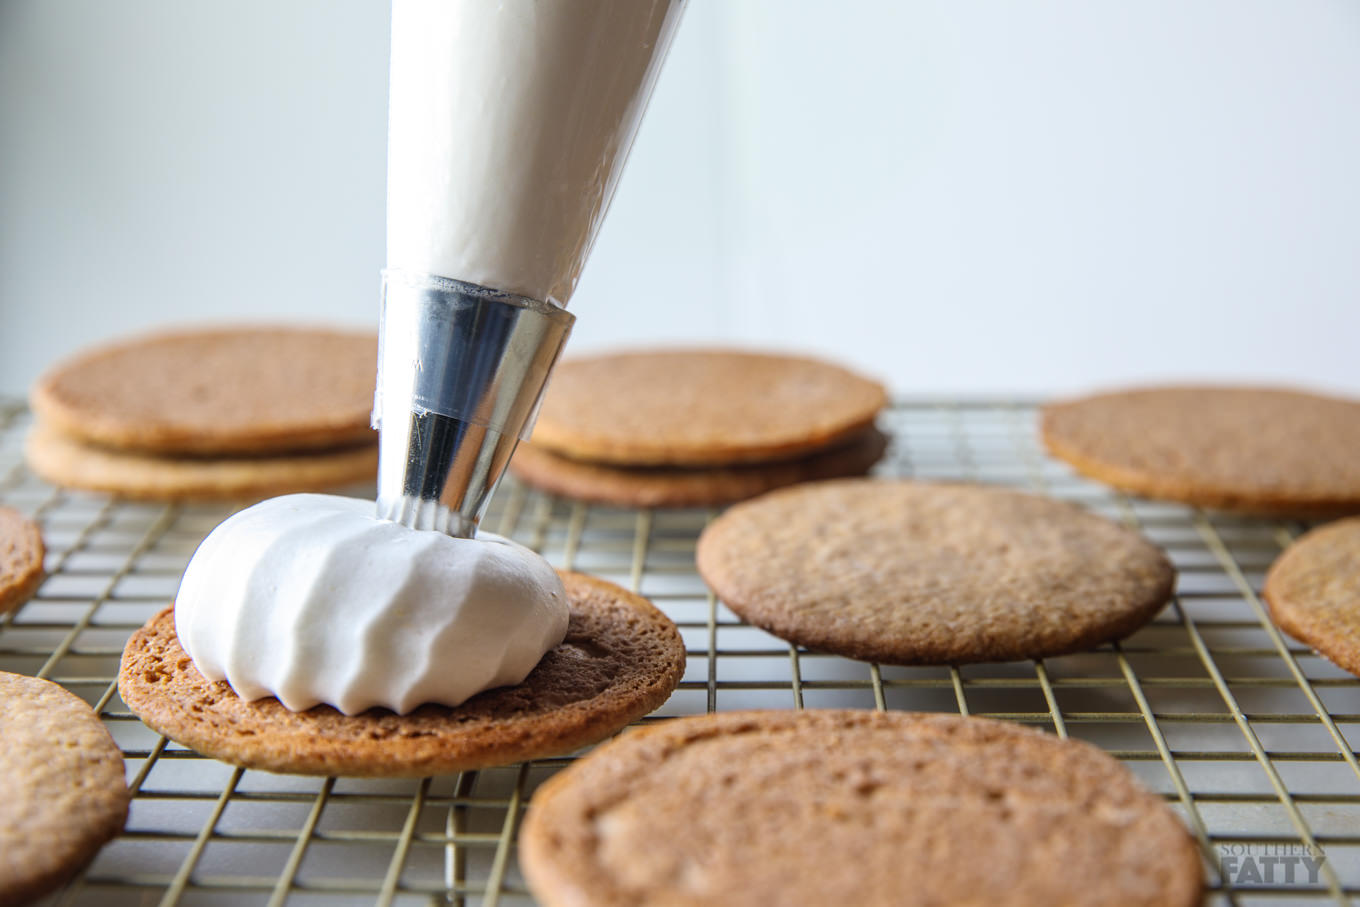
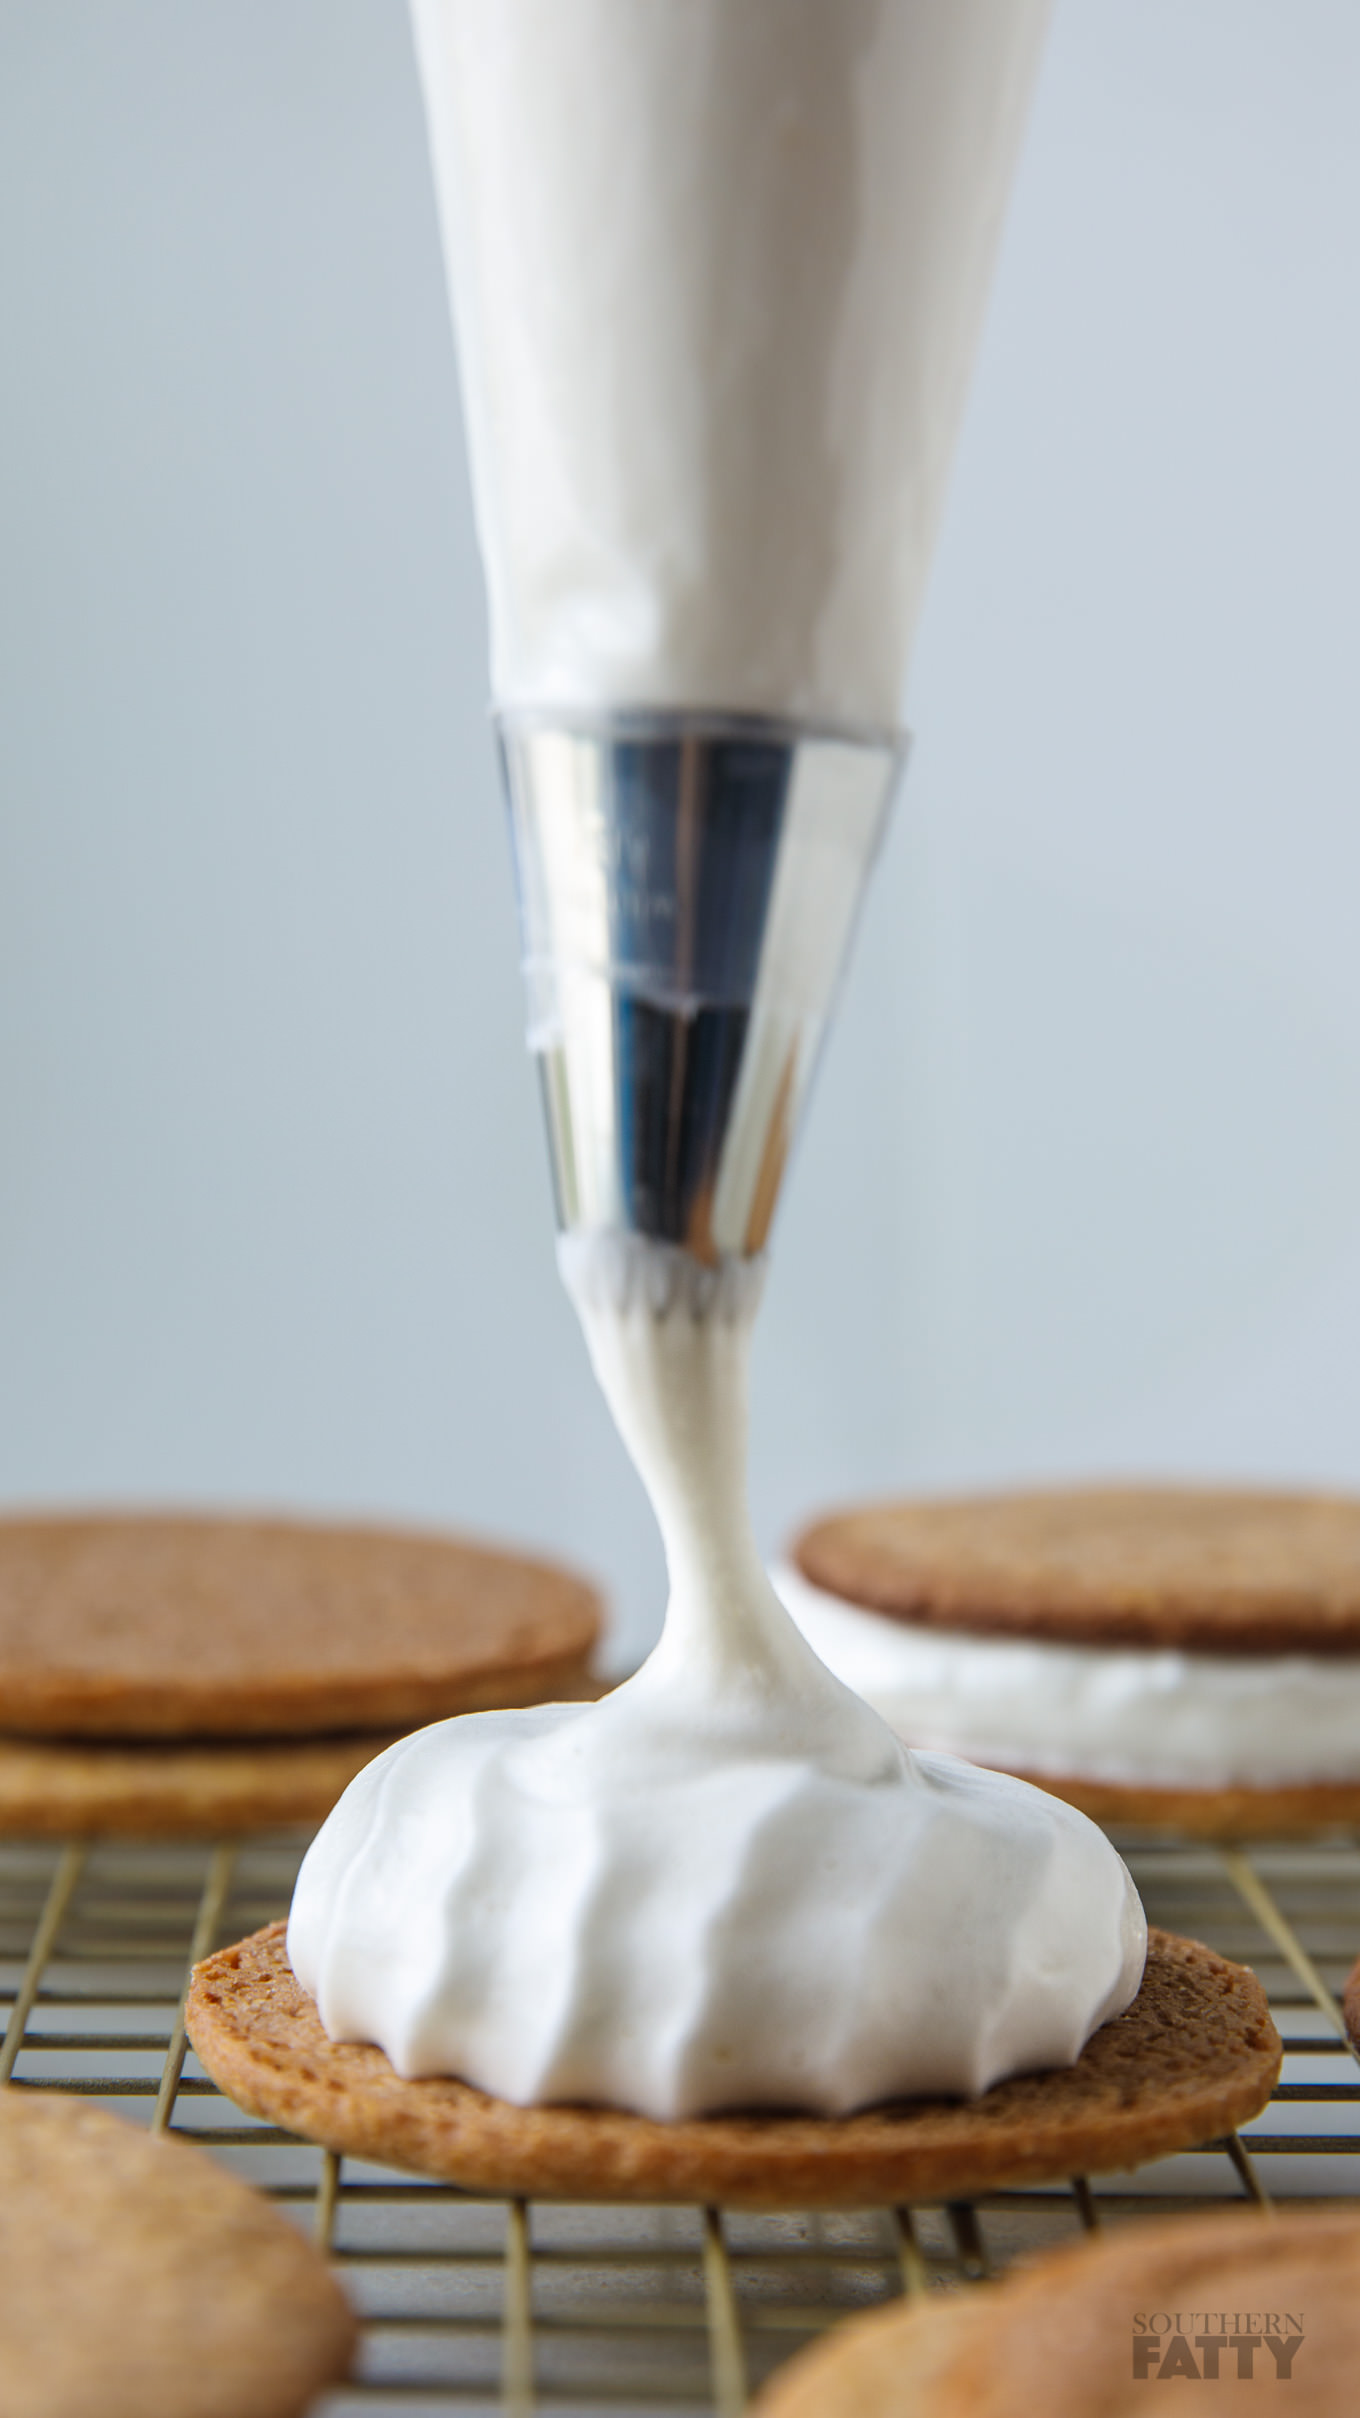
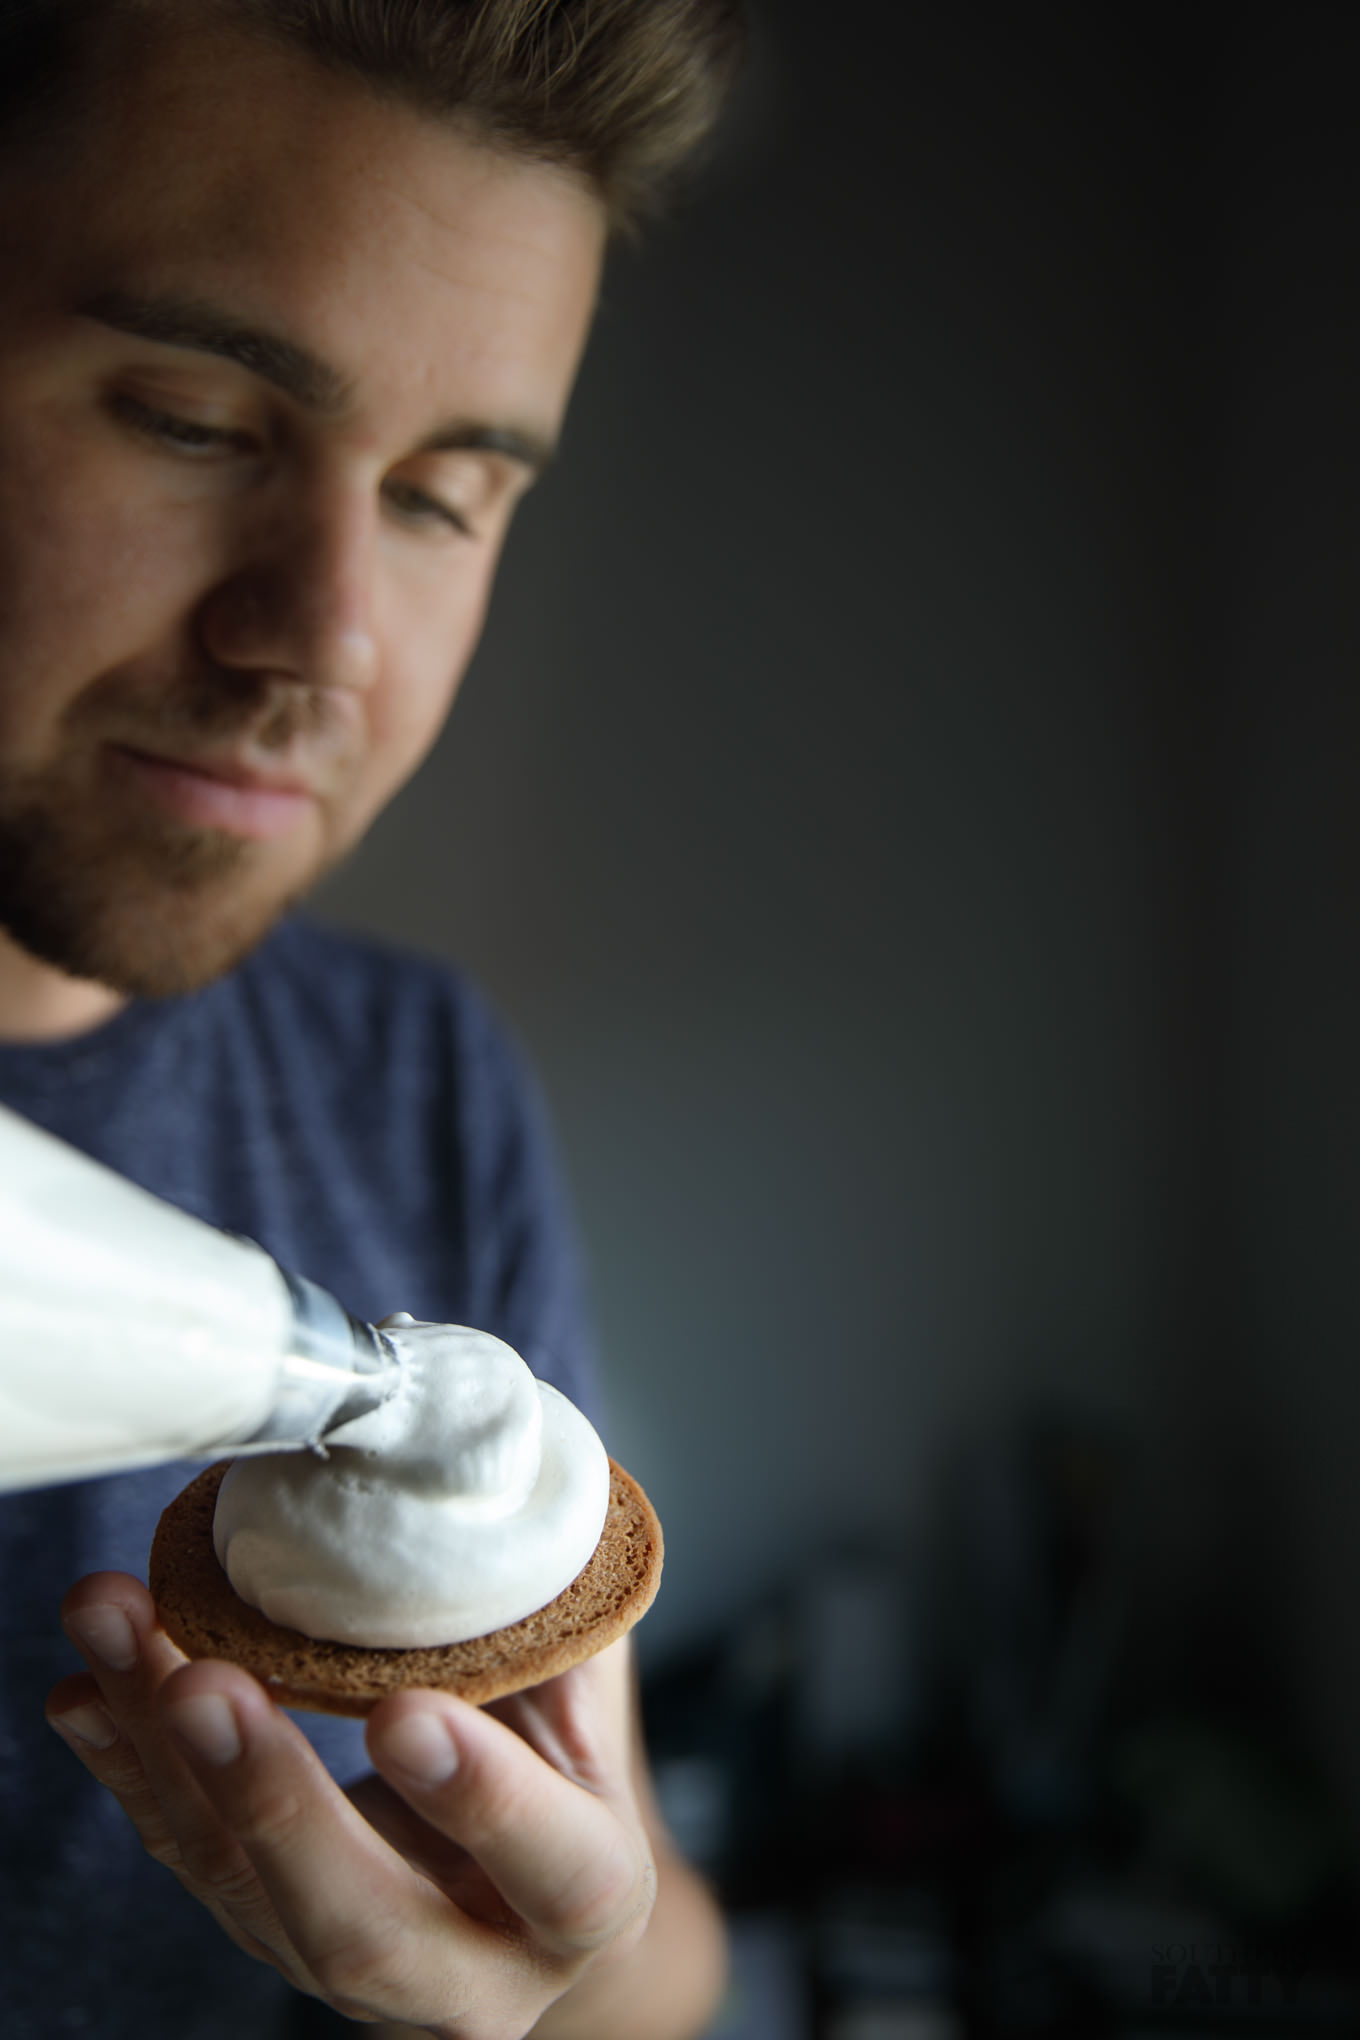
- Transfer marshmallow meringue mixture to a piping bag fitted with a large tip.
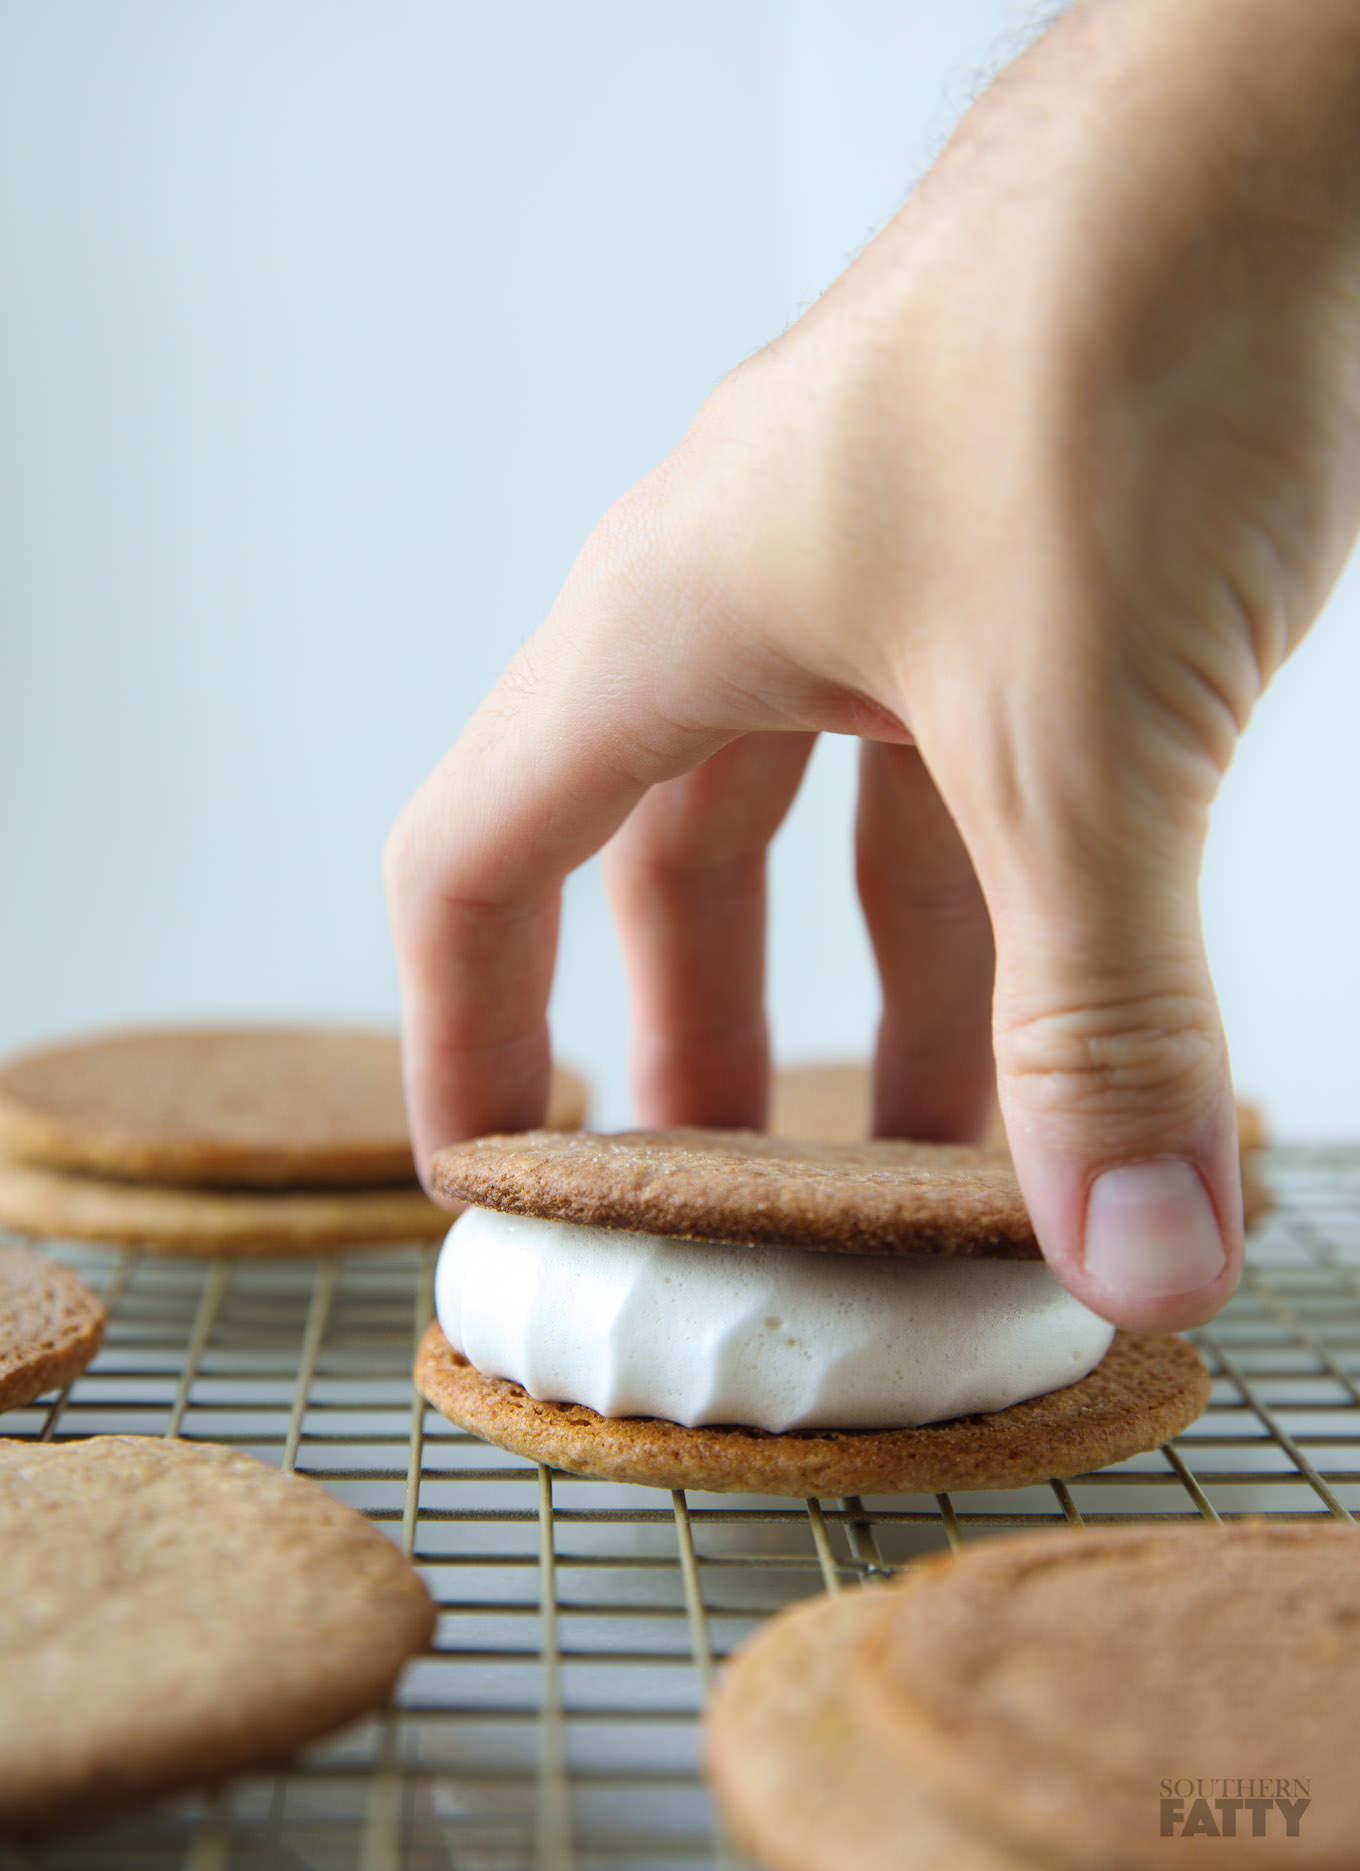
- Pipe marshmallow onto one cookie, topping with another cookie.
- Melt almond bark coating in microwave safe bowl or bain-marie per package instructions.
- Stir in shortening. This will loosen the mixture for pouring.
- Place cookies on a cooling rack over a baking sheet. You can also prop up cookies with smaller ring molds or cookie cutters to elevate them instead.
- Pour chocolate coating over cookie sandwiches. Use a small offset spatula to spread the tops and sides for an even, thin coating.
- Allow to cool completely. Chill for at least 30 minutes.
- Find the recipe and instructions HERE.
- I used sky blue, navy, black, and fuschia gel coloring after splitting the recipe into smaller bowls when around 95-100 degrees F cooled before the target of 90F for glazing. Read the Mirror Glaze Recipe post if that is confusing to understand. It explains the process very well.
- To get the silver speckles, I applied a small amount of the silver food coloring to a pastry brush and flicked it on the tops.
- Once glazed, trim as necessary, chill for at least 15 minutes. Serve at room temperature.
- Enjoy! Find more at SouthernFATTY.com!


Kristy
I know this is an old post but I have a question…
These would be perfect for my boys space birthday party. Would I be able to make these ahead of time and free them?
Phillip @ SouthernFATTY.com
Sorry I missed this! You absolutely can freeze gelatin-based glazed cakes. It actually freezes fairly well. It may lose a bit of the shine, and I would recommend thawing them overnight in the fridge to reduce the condensation that may for between the glaze and cake layers, but I have done it with good results.
-Phillip
Have a photo to share? Tag us on social using @southernfatty / #southernfatty!
Brittany
Your recipe does not list when to add the gelatin into the marshmallow filling.
Phillip @ SouthernFATTY.com
Fixed! Enjoy —
-Phillip
Have a photo to share? Tag us on social using @southernfatty / #southernfatty!
Sarah
Hello! I realized part of the way through doing this that in the marshmallow filling you don’t seem to mention when to add the gelatin to the syrup (unless I’m absolutely failing my reading comprehension). Is it supposed to be after the syrup reaches 200F? That’s when I wound up putting it in (no idea if it worked yet, but it kind of smells funny as I’m mixing).
Phillip @ SouthernFATTY.com
Fixed! Enjoy —
-Phillip
Have a photo to share? Tag us on social using @southernfatty / #southernfatty!
Matthew
Those look incredible! That is such a creative idea! I would love to see more of these mirror glazed desserts.
Phillip @ SouthernFATTY.com
Cheers! Had a great time making these! They were inspired by one of my most popular posts, How To Make a Mirror Glaze Cake.
Robbie
I can’t even believe what I am seeing!
Phillip @ SouthernFATTY.com
Happy you enjoyed it!
katie wright
These are amazing! So beautiful!
Phillip @ SouthernFATTY.com
Thanks! Pretty fun to make, too.