Disclosure: Thank you to Starbucks for partnering in this post. They have provided compensation, but the opinions in this post are solely mine.
We’re all guilty of it. You’ve done it. Your kids have done it. Your grandparents have probably even started doing it. No, I’m not talking about double dipping into the chocolate fondue. I’m talking about pulling that phone out during dinner and snapping a couple Instagram shots. Maybe you’re a step above that and won’t allow your friends to touch those brunch waffles until you get the best shot possible. Do you swat at your mom’s hand when she reaches to pick up that mimosa before a cheers video? This is a safe space, y’all. I’m going to tell you some of my favorite tips and tricks for shooting the absolute best social media photos in your favorite restaurants using just your phone, along with how I best manage my own craft during busy shooting or brunching days.
I get a lot of questions about photography from the social media food community and blog readers. It’s really one of my favorite things to try and share with my readers. Food photography started as a little hobby of mine; it started way back when you would get all kind of weird looks and stares if you tried to take a photo of your burger. I can remember when a few restaurants would ban cell phones use. Nowadays, it’s a totally regular sight. You might get some eyes if you are standing on top of your chair, but otherwise it’s pretty much a free for all. I’m thrilled that restaurants have embraced the fact that if someone is taking a picture of their food, they are probably sharing it. Free advertising!
For me, snapping pictures of my French fries turned into a full-time gig. I shoot at a roster of Nashville restaurants every month to help them stock up on their social media image library. With a couple years under my belt of professional social media photography, I have learned a few top-notch tips and tricks that I’m happy to pass on to y’all. Grab a coffee and let’s chat.
Shooting in a restaurant has become a very deliberate, systematic process for me. This is out of necessity. There are some days where I may have to run to 4 or 5 shoots in a row during lunch time. I know… I know. Eating lunch multiple times is a rough job, eh?
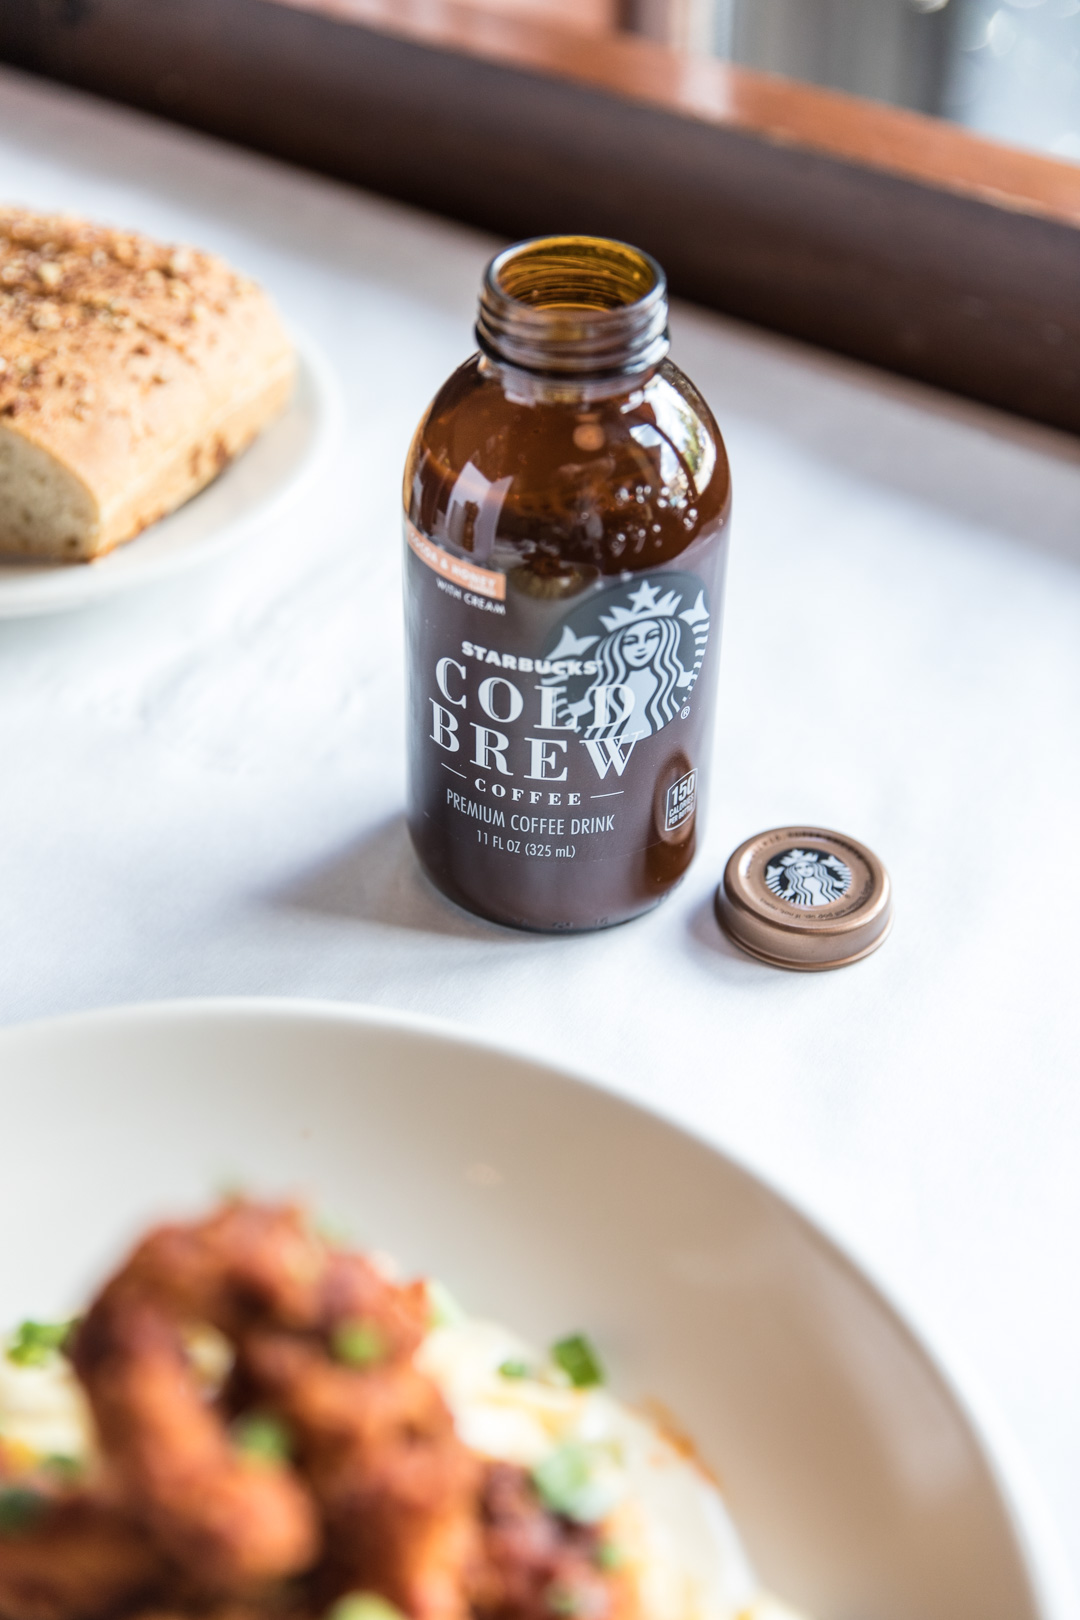
But, as with any craft process, you will be most successful if you fine tune your process and methods. I pack up my camera bag with the essentials (camera, bounce boards, lenses, batteries, tripod, a bottle of Starbucks Cold Brew), but you can follow the same process at your favorite brunch spot without all of the hi-tech gadgets and gizmos. Keep the coffee, though.
Take a BREAK!
A good break is a must to keep on the creative train. Grab your coffee, start looking at your surroundings, think about what you are about to shoot. This doesn’t mean you have to take an hour off. It could be just a few minutes, but stopping for a sip and a breather will benefit your overall results drastically.
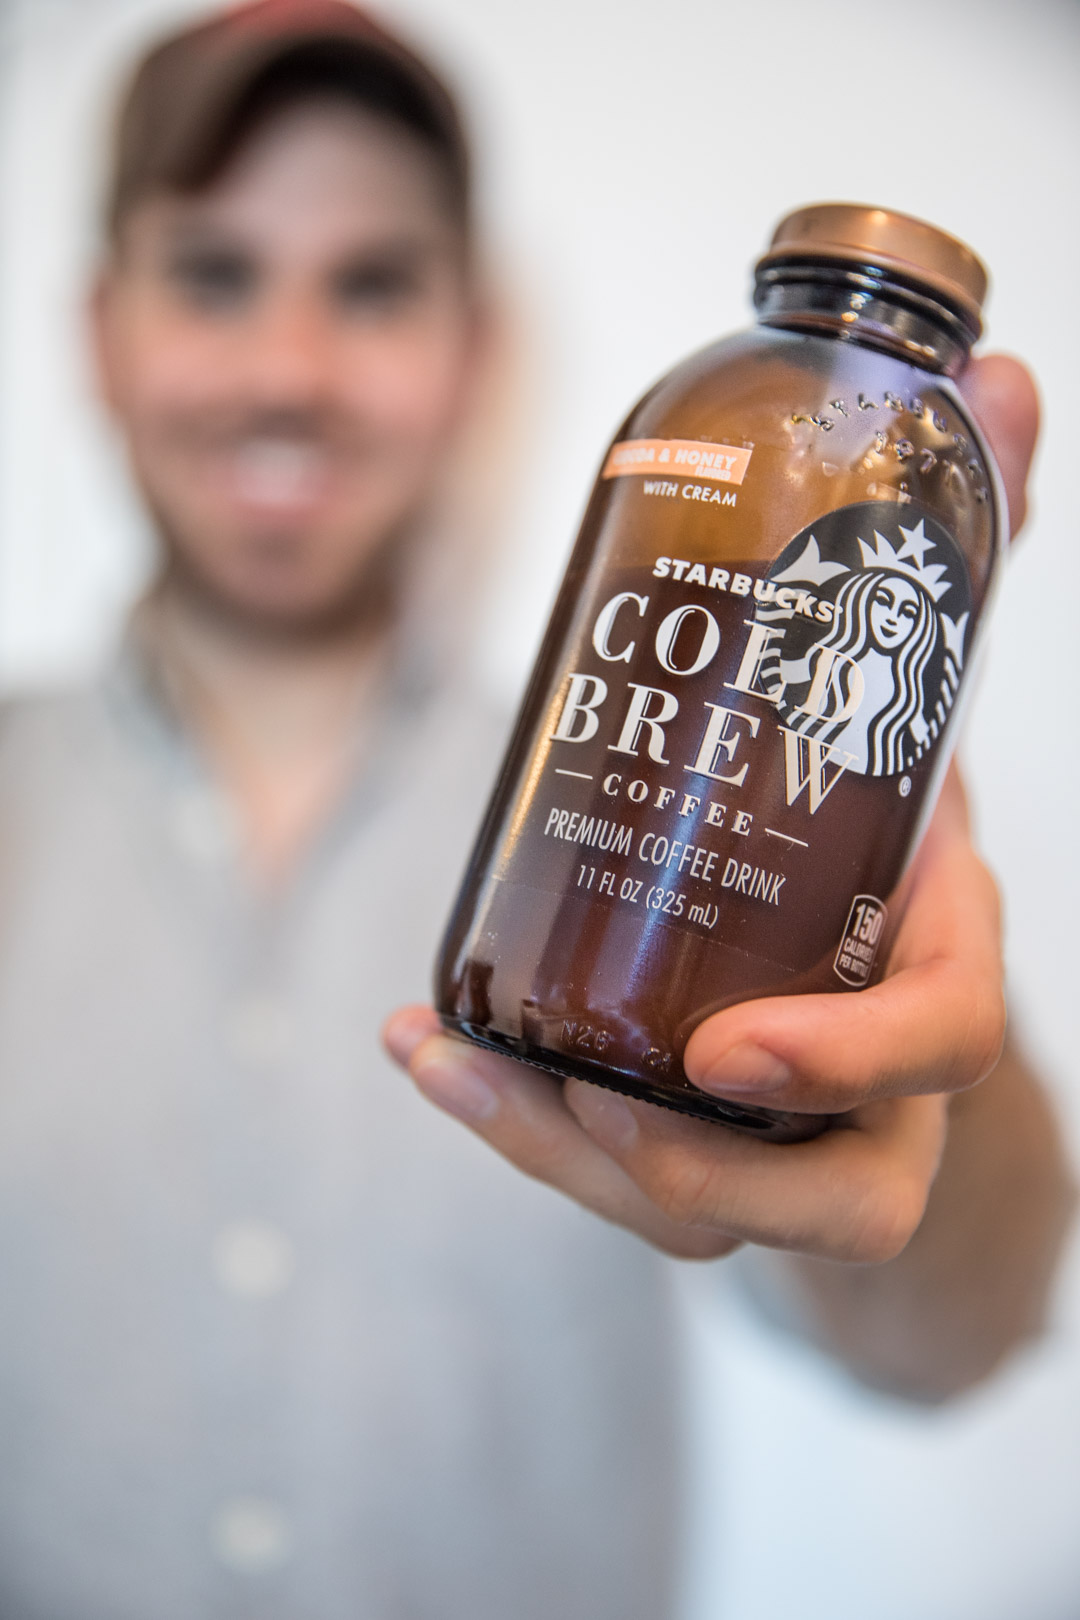
I’ve started packing bottles of the bottled Starbucks Cold Brew in my camera bag every time I venture out for shoots or just to run around town with friends. Cocoa and Honey with Cream is where it’s at. — A touch of honey and hint of cocoa and cream, it’s a perfect refresher and companion for a quick break on-the-go.
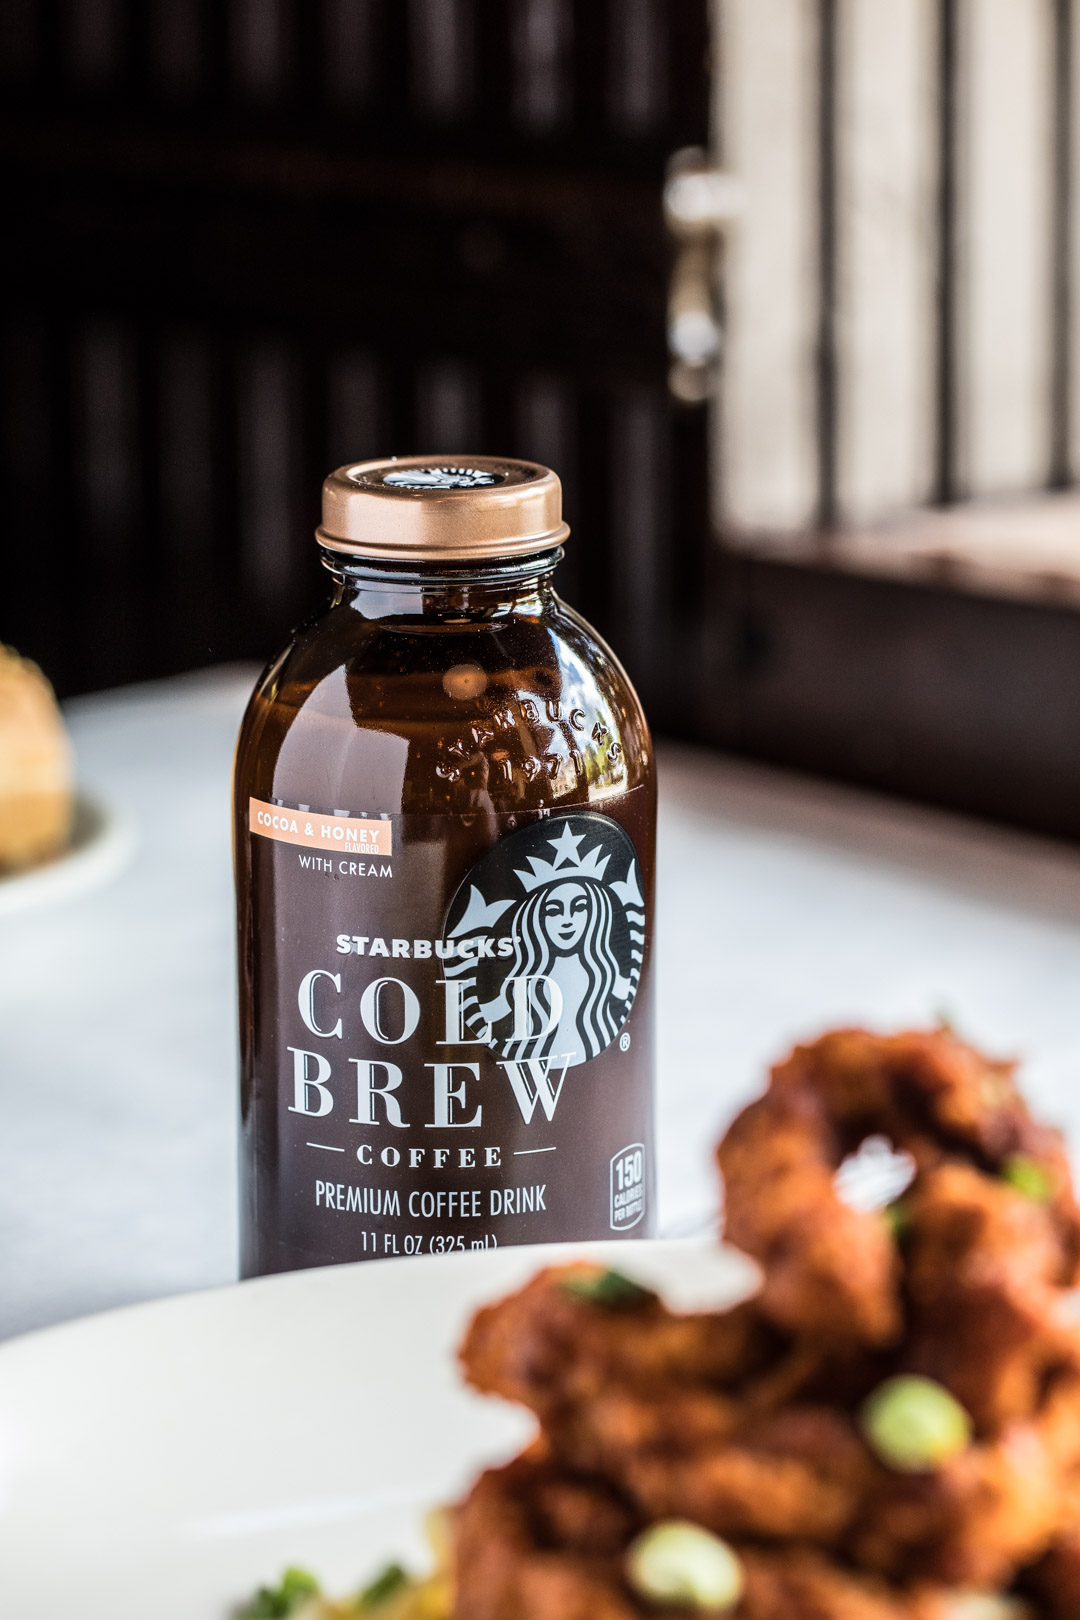
Starbucks cold-steeps this incredibly smooth blend made with an artful blend of beans. Honestly, I can’t tell y’all how much I enjoy these. There is a Black Unsweetened version as well, if you don’t have the sweet tooth that this Fatty does.
I’ve learned the hard way that you really need to take a breather in order to make the best content. My go-to break is with a craft coffee in hand, a few steps away from whatever I am about to shoot, with just a few minutes to connect myself with the craft process of shooting and what I want to get from the photos that I’m about to take. It sounds busy, but you can do this in just a couple minutes and end up with a much better finished product. Keep the following factors in mind to plan for during your coffee break.
SUNLIGHT, Camera, Action
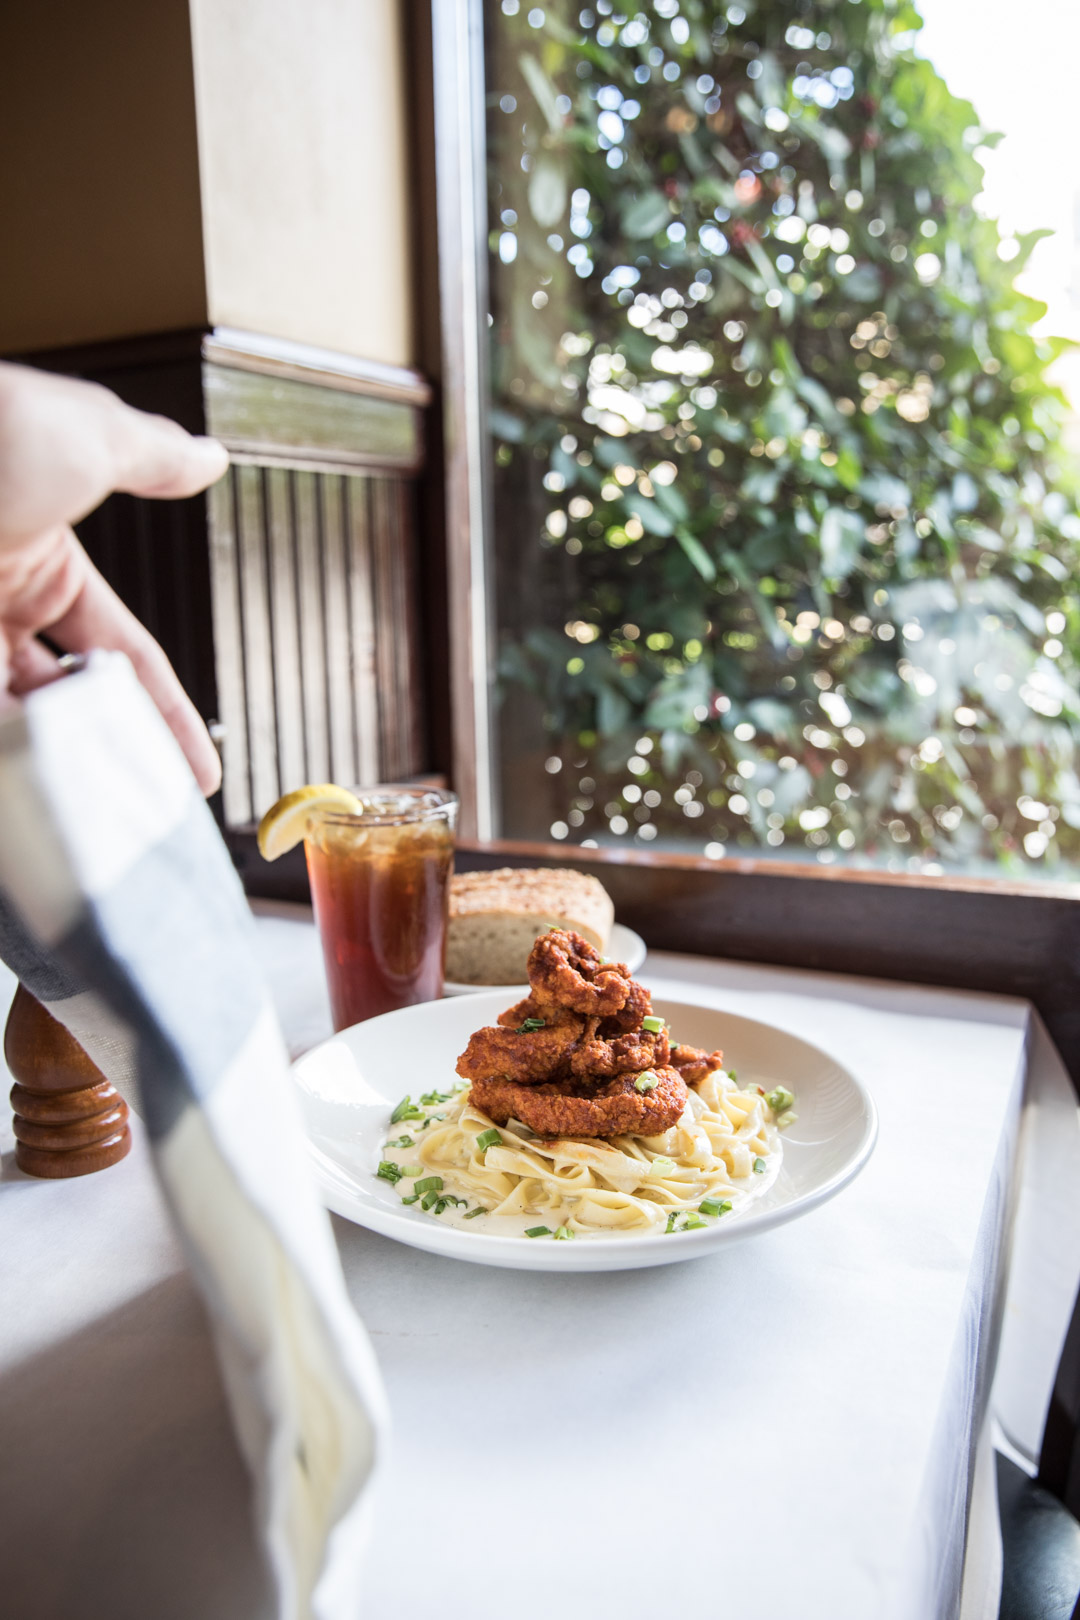
Without a doubt, light is the most critical element to creating beautiful images. Photography means ‘painting with light’. Natural light is the best choice when available. If you are making a reservation, ask for a window seat in advance. I’ve rarely ever had any restaurants have any issues with the request. If you can’t get near a window, or it is dark inside, glance around the table. Odds are, one spot probably has better light than another seat.
Too DARK? Here are a few tricks for adding light:
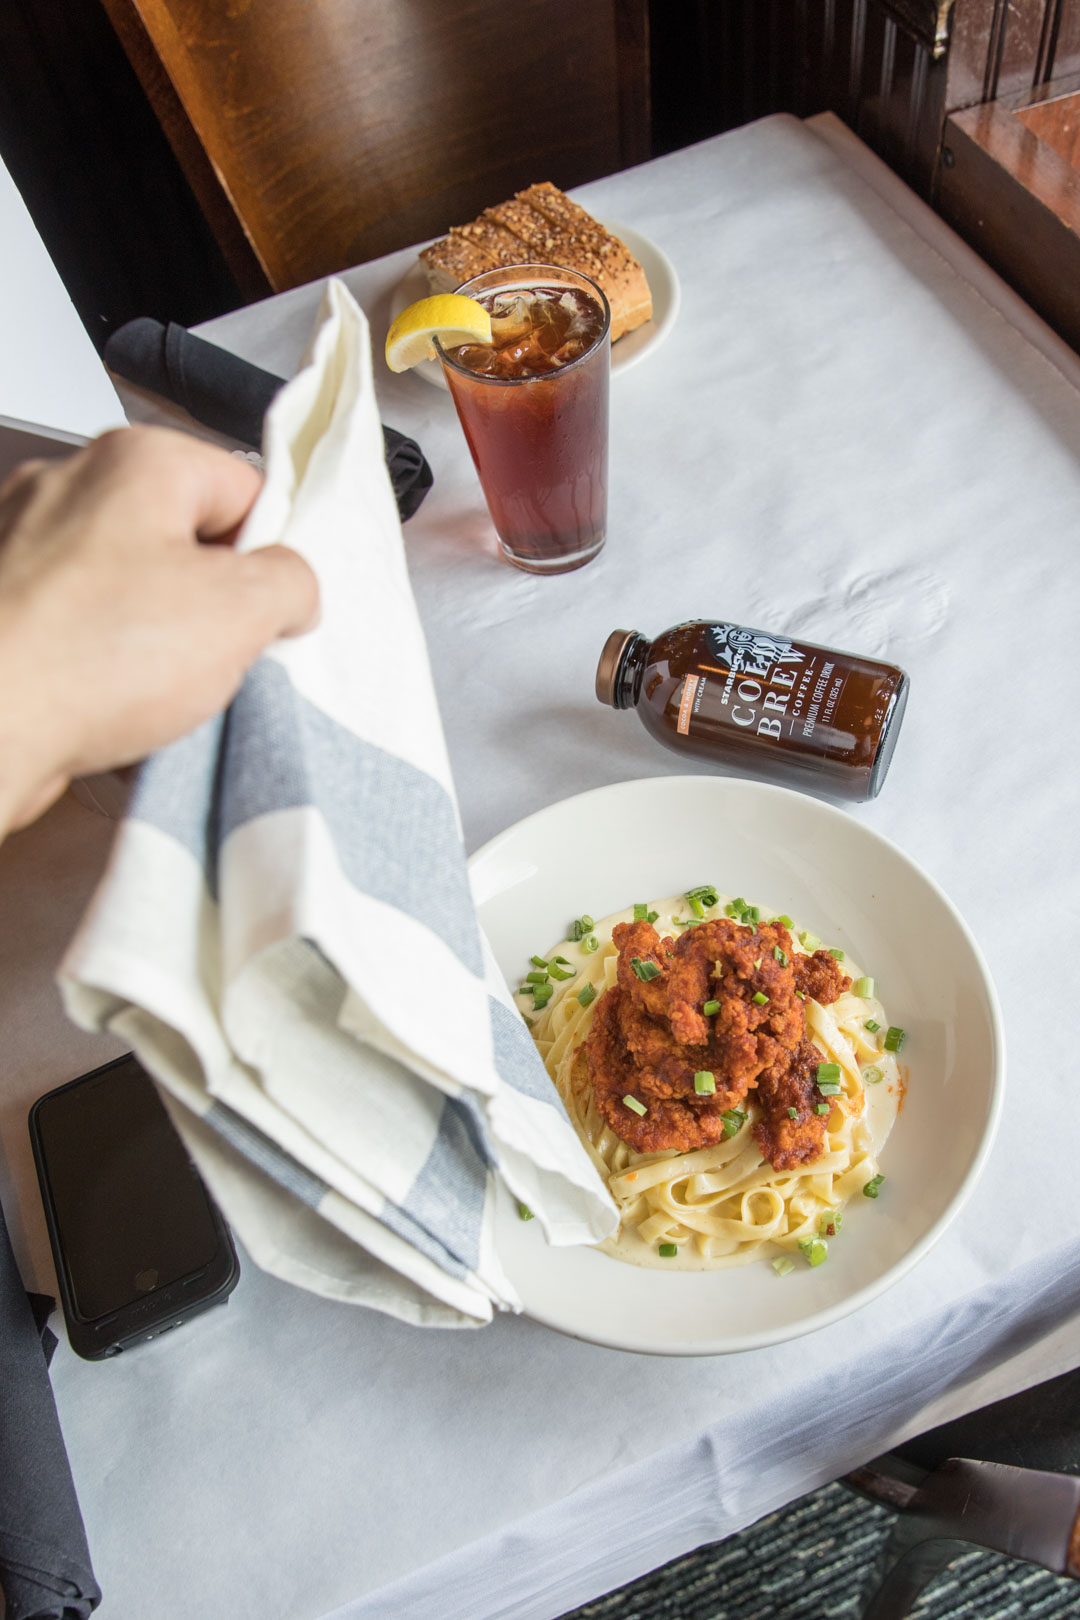
Don’t use that flash. Just don’t do it. Do not pass go. — BUT, you should use that flashlight feature. You know the one. Grab your friends phone, scroll up, and hit that flashlight button. The flashlight feature is too harsh by itself, but if you toss a white napkin in front of it, the light will soften and diffuse enough that you can get a pretty great fill light to snap some decent photos.

A handy trick that not many realize is that they can use an exposure lock on your smartphone camera. This means that you can lock in the shot at certain exposure levels. Tap and hold on your focal point. You will see a little sun pop up on the screen. Slide that up or down to lock in brighter or darker exposure. — Look at the difference in the examples above. This is a lifesaver when you want to fine-tune your scene.
BOUNCE with it.
Professional photographers rely heavily on modifiers when shooting. These are shields that diffuse, bounce, reflect, or block light depends on the desired look. You can do exactly that with everything you already have at your table. I’ve been known to grab a napkin to bounce bright light back onto the darker portions of the plate that I want brighter. You can do the same with a light-colored menu. If you are in a situation where the light is crazy bright, like if you are seated outside, you can use the same resources to block out some of the light. A white cloth napkin is amazing at diffusing direct sunlight. Ideally, you want overcast-type light to get the best photos.
DEPTH of field.
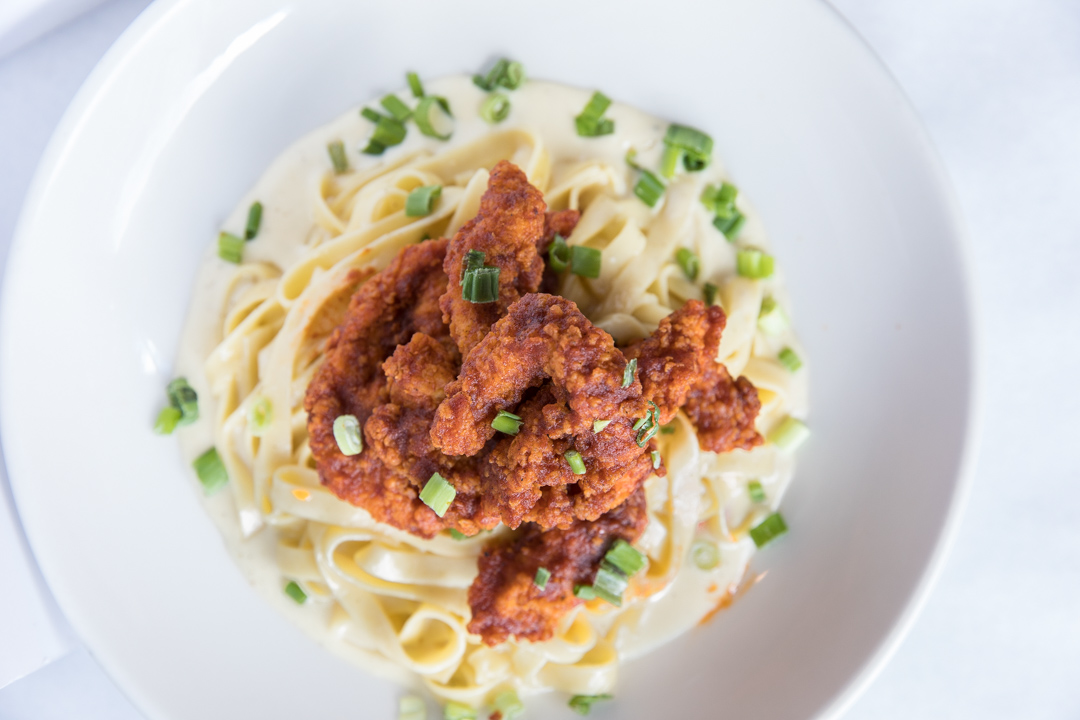
One downfall to using your phone instead of a clunky big camera is that you can’t really adjust your focus depth. That’s when you have the steak in focus, but the veggies have a lovely blur in the background. You can certainly play with focus by tapping individual points that your phone will focus upon, but can’t adjust the blur part of it in the native camera application.
One way that I like to combat this is to change my angle. Overhead photos don’t show as much need for depth as a 45 degree shot. Overhead shots work beautifully for food, too. Win, win!
TIGHTEN it up a bit.
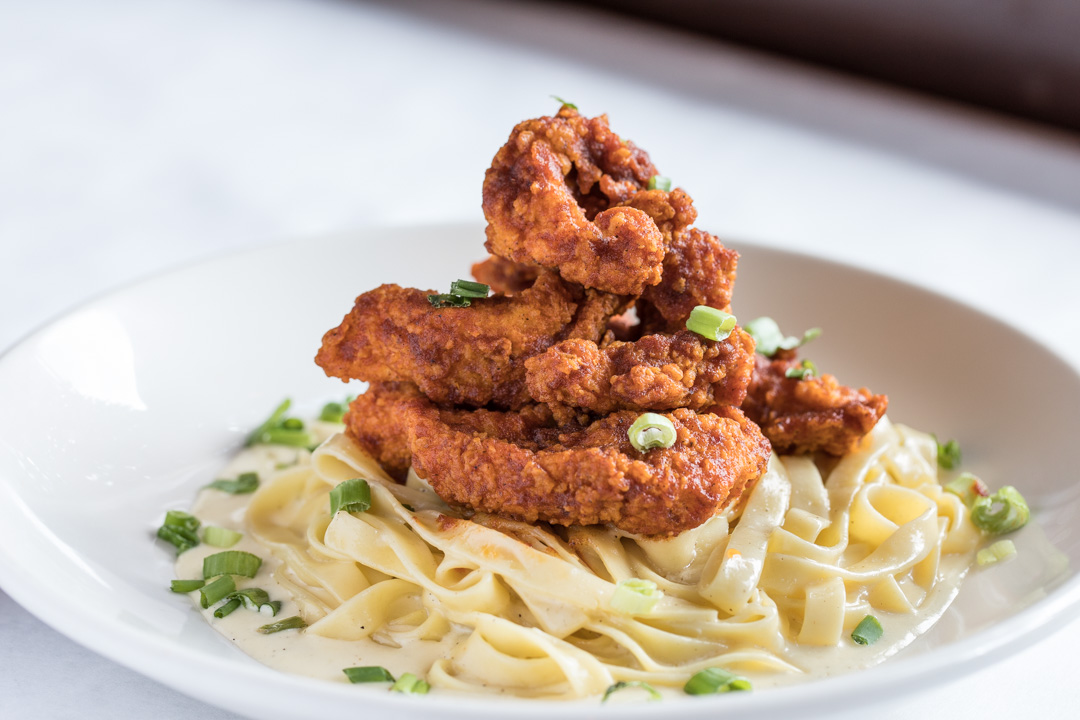
Let’s say I’m only 3rd lunch shoot for the day, and I just can’t get the amount of light that I really need for the tacos. Frustrating! — Get a boost from that bottle of Starbucks Cold Brew Cocoa and Honey with Cream that you threw in your pocket, take a breath, and move in a bit closer. Tighter shots are generally super successful for social media. My macro food shots are some of my most popular. There is just something about being right in the middle of the food that makes it very appealing to your viewers. This is also great because you need less light for a smaller area. If you find one little spotlight area, use it to your advantage.
Didn’t your momma tell you to CLEAN UP after yourself?
Before you start shooting, look around for the mess. It’s easy to overlook splashes on the plate, or unattractive plastic ware in your shots. Wipe it away and move it. Simplify your scene to force your followers to focus on the food. It will make the shot look much more cohesive.
COMPOSE, Beethoven. Compose.
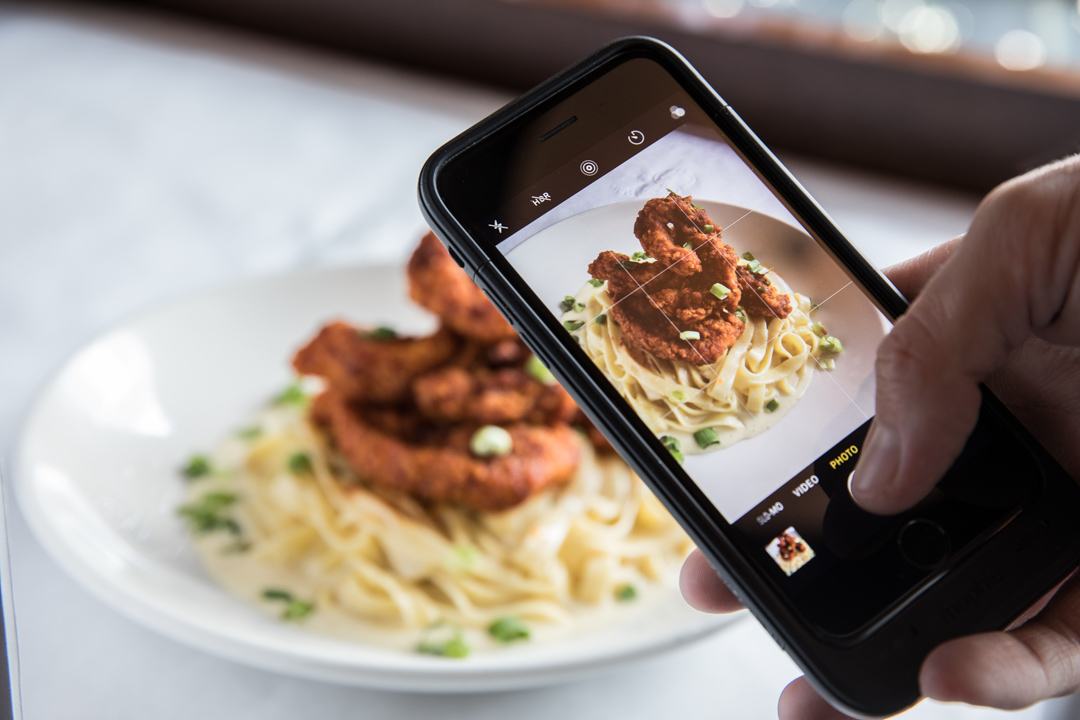
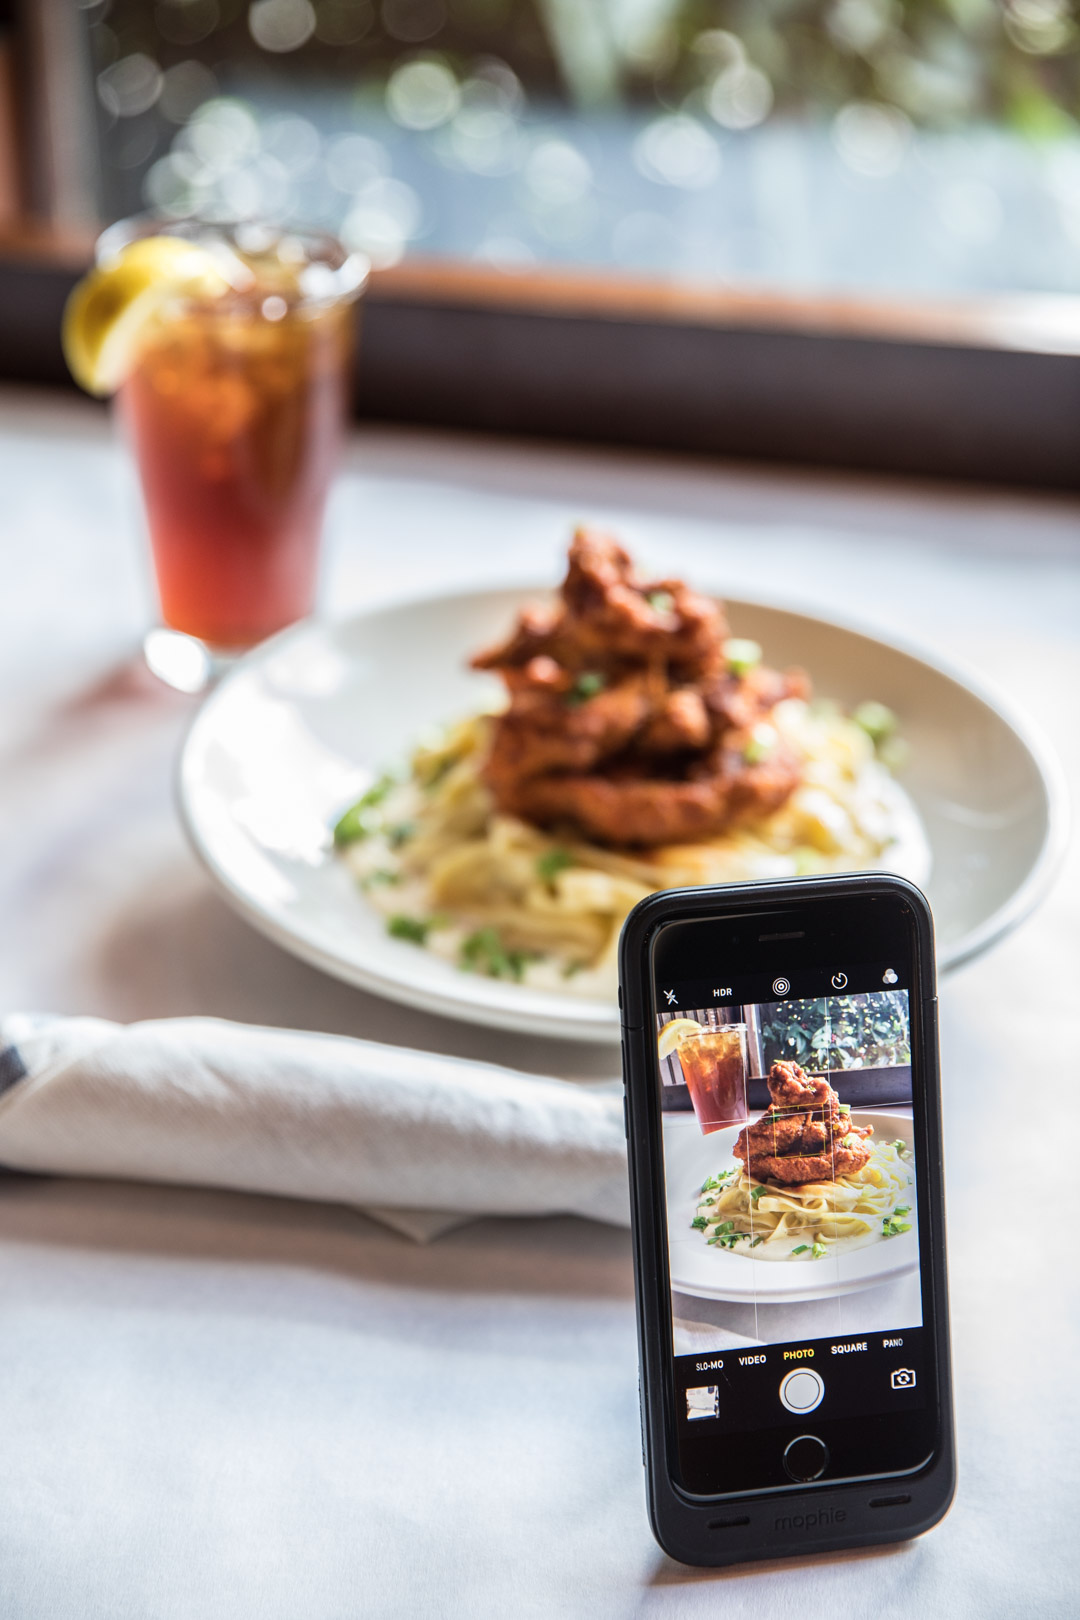
One of the most frequently referenced theories in photography is the Rule of Thirds. Think of your scene as being divided into a 3×3 block grid by splitting it with two horizontal and two vertical lines. Place your focal points along those intersections and lines. The result will be more pleasing to the eyes of your social media friends. It may take a bit to get used to lining up your shot in this way, but will become second nature after a little bit of time using it.
SHARE, share, share.
Ignore all of those people that tell you to only post “x” many times a day. Do what you want. Take the photos that you think are great. Post them all.
By sticking to your own craft and genuine process, you will build the best platform that you possibly can. Grab a coffee and snap away!
Starbucks Cold Brew Black Unsweetened or Starbucks Cold Brew
Cocoa & Honey with Cream: Which do you want to try first?
Find them in your local store’s grocery or drink section.
—
What are your favorite phone photo tips? Comment below!


Mubeen
Great food photography tips ever seen and nicely composed photos also. Really enjoyed your article
Phillip @ SouthernFATTY.com
Thank you!
-Phillip
Have a photo to share? Tag us on social using @southernfatty / #southernfatty!
Tara Hudson
Incredibly beautiful food photos, I love reading your blog! Quality photos like yours always inspire me! Tell me which camera do you use?
Phillip @ SouthernFATTY.com
Thanks! I use a few cameras depending on what I am doing, but mostly Canon products. Main camera is a 5d IV with 100mm lens for food shots. Although, don’t get caught up on equipment. It’s definitely not the most important element of good photography. Learning how to manage light and composition is key.
Margaret Clegg
Thanks for the flashlight + napkin tip!
Hadeel Al Qadi
Great tips for begginers, Thanks 🙂
Phillip @ SouthernFATTY.com
Thanks!
Joie Gahum
I use a external roadeavour lens for macro shots of food! Great shots you have there!
Phillip @ SouthernFATTY.com
I’ve heard great things about those. Thanks!
ian rook
I would have never thought of these things. Thank you
Phillip @ SouthernFATTY.com
Glad you enjoyed it!
Josh Miller
Great article! Thanks for sharing and providing some valuable insight.
Phillip @ SouthernFATTY.com
Glad you enjoyed it, Josh!